This is an implementation of YOLOv3 model for an Object Detector in images. This repository contains two parts:
- Clone the repository
git clone https://github.com/Vedant1202/YOLOv3-Object-Detector.git - Navigate into the repository
cd YOLOv3-Object-Detector - Install dependencies using conda
conda create --name yolov3 --file requirements.txt
It is recommended that a GPU based version of Tensorflow (v2.1) should be used for better performance. This repository uses a GPU based tensorflow for its implementation.
conda install tensorflow
A brief overview on YOLO algorithm.
- application/ - Contains the Flask Application.
- weights/ - Directory to contain the parsed weights of the Pretrained YOLOv3 Model.
- coco.names - File containing label names for the pretrained model.
- convert_weights.py - Python script to parse weights of pretrained model.
- dogandcat2.jpg - Sample Image to test scripts.
- image.py - Main script.
- requirements.txt - File containing conda environment dependencies.
- utils.py - File containing utility functions for YOLOv3 model.
- yolov3.cfg - YOLOv3 configuration file.
- yolov3.py - Script containing the YOLOv3 model and network.
- yolov3.weights - File containing YOLOv3 pretrained model weights. This needs to be downloaded from this link.
- Activate the environment (if not already activated)
conda activate yolov3 - Create folder "weights" (if not already present) in the root directory.
- Download the yolov3.weights file from this link.
- Run convert_weights.py. This will parse the weights and store them in weights directory.
python convert_weights.py - Finally run the image.py file.
python image.py
A sample output is as follows. This output is based on an image containing a dog and a cat. The script filters only the box co-ordinates of the box containing a dog and outputs it as was described in the code challenge page.
This is a server-client application with a Flask backend to serve the model on a web service. This application resides in the application directory in the root folder.
- client/ - Directory containing client side files.
- client/css/ - Directory containing CSS files.
- client/js/ - Directory containing JS files.
- client/resources/ - Directory containing static resources like images.
- client/views - Directory containing HTML files.
- server/ - Directory containing server side files.
- server/controller/ - Directory containing controller services for server.
- server/controller/detector/ - Directory containing python implementation modules for server. This directory is similar to the root directory and should be setup as explained in the above section.
- server/controller/detector/cropped/ - This directory will contain the cropped images which are a result of the server processing. This directory should be created if not present.
- server/controller/detector/input/ - This directory will contain the images received from the client which will be fed to the model. This directory should be created if not present.
- server/controller/accept.py - Script containing service to accept incoming images from client.
- server/utils/ - Directory containing utility services for server.
- app.py - Initialisation for Flask Application.
- server.py - Script containing server routes and start-up script.
- Navigate to application/server/controller/detector/ directory.
- Run convert_weights.py
python convert_weights.py
Note: Before running this, please make sure "weights" directory is present in the current directory and the weights have been downloaded from the google drive link mentioned above
You are done with setup for the flask app. Remember this step has to be done only during the first time. Once done only the startup scripts need to be run which are explained as follows.
- Navigate to application/server/ directory.
- Run server.py
python server.py
Server has been started on http://localhost:4000/. Open home.html file from application/client/views/ directory in your browser.
The application also has a 'how it works' section on the top navigation bar. You can explore that as well.
-
After starting the server, open the home.html file in your browser.
-
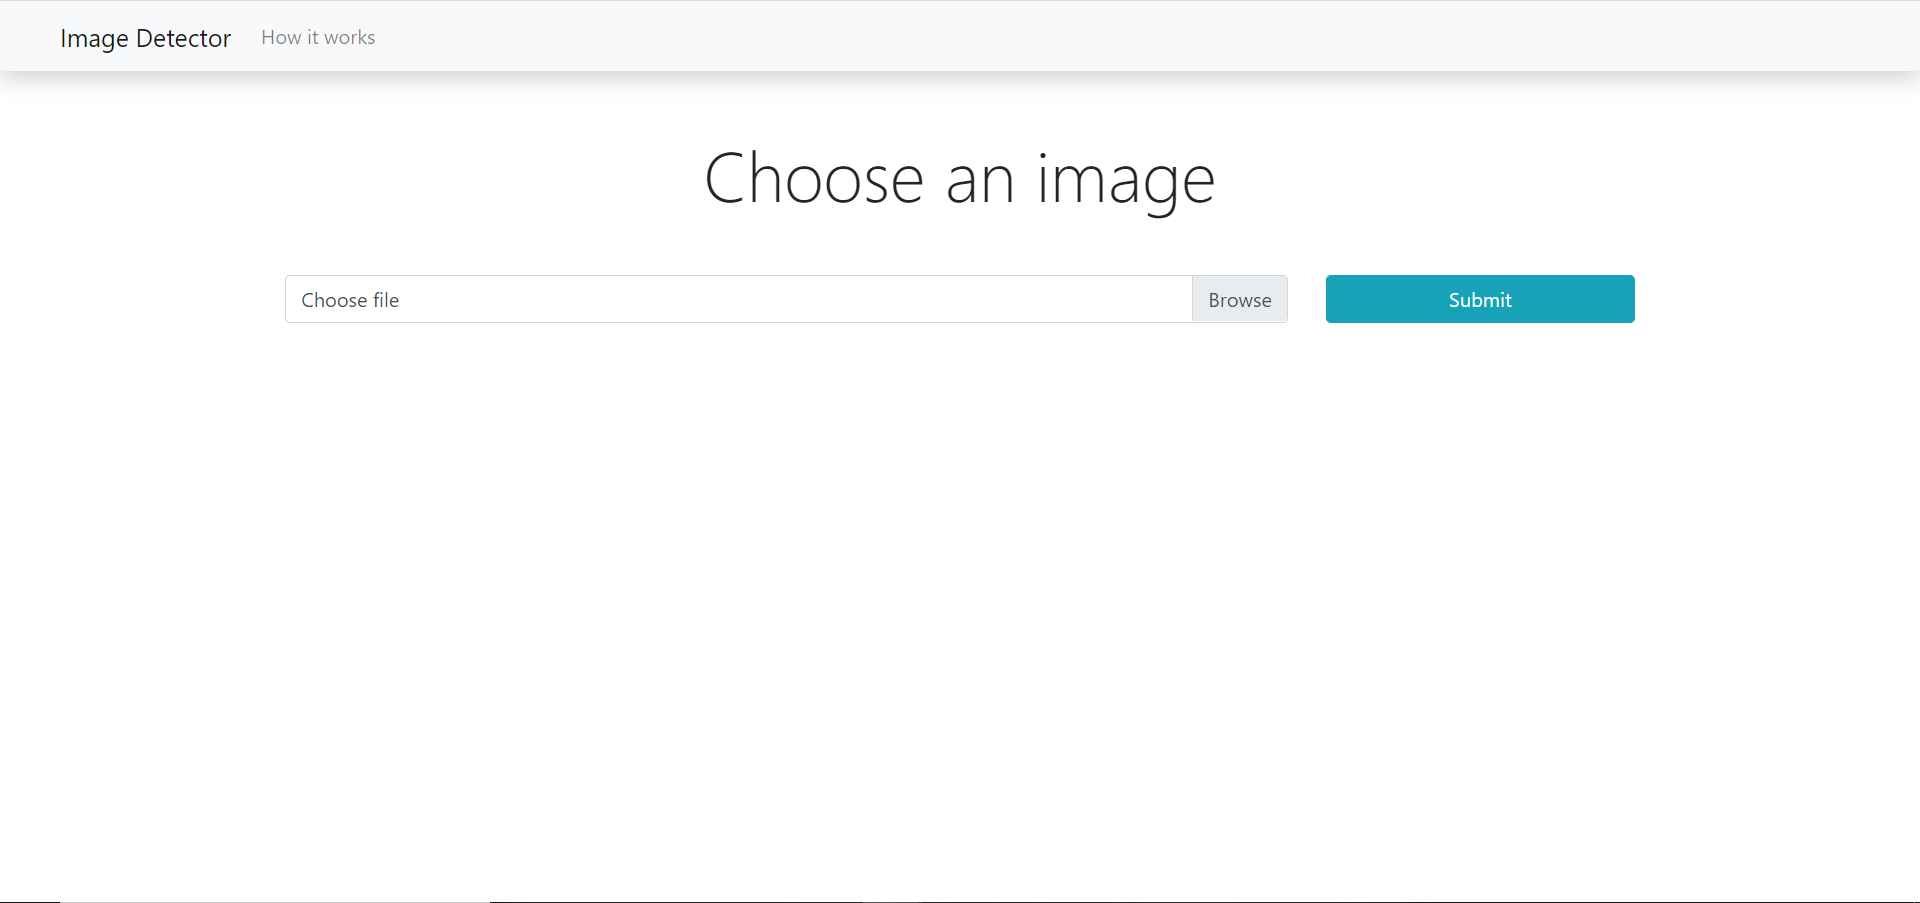
The home.html page looks like this:
-
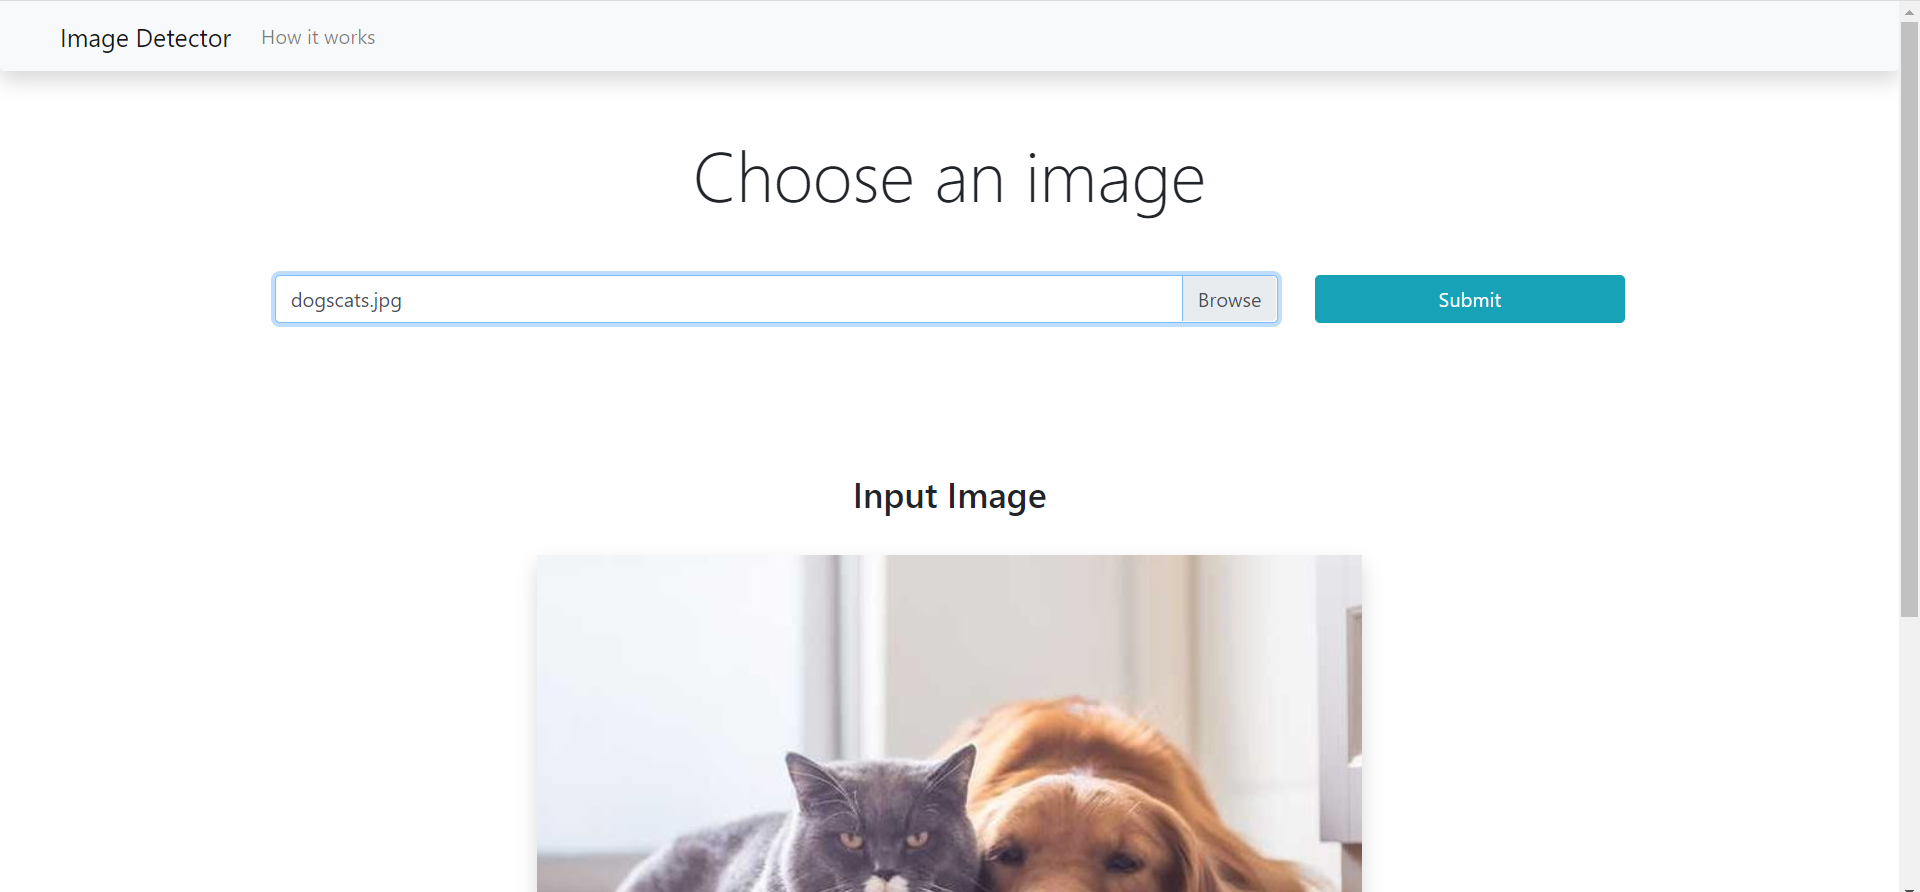
Select an image.
-
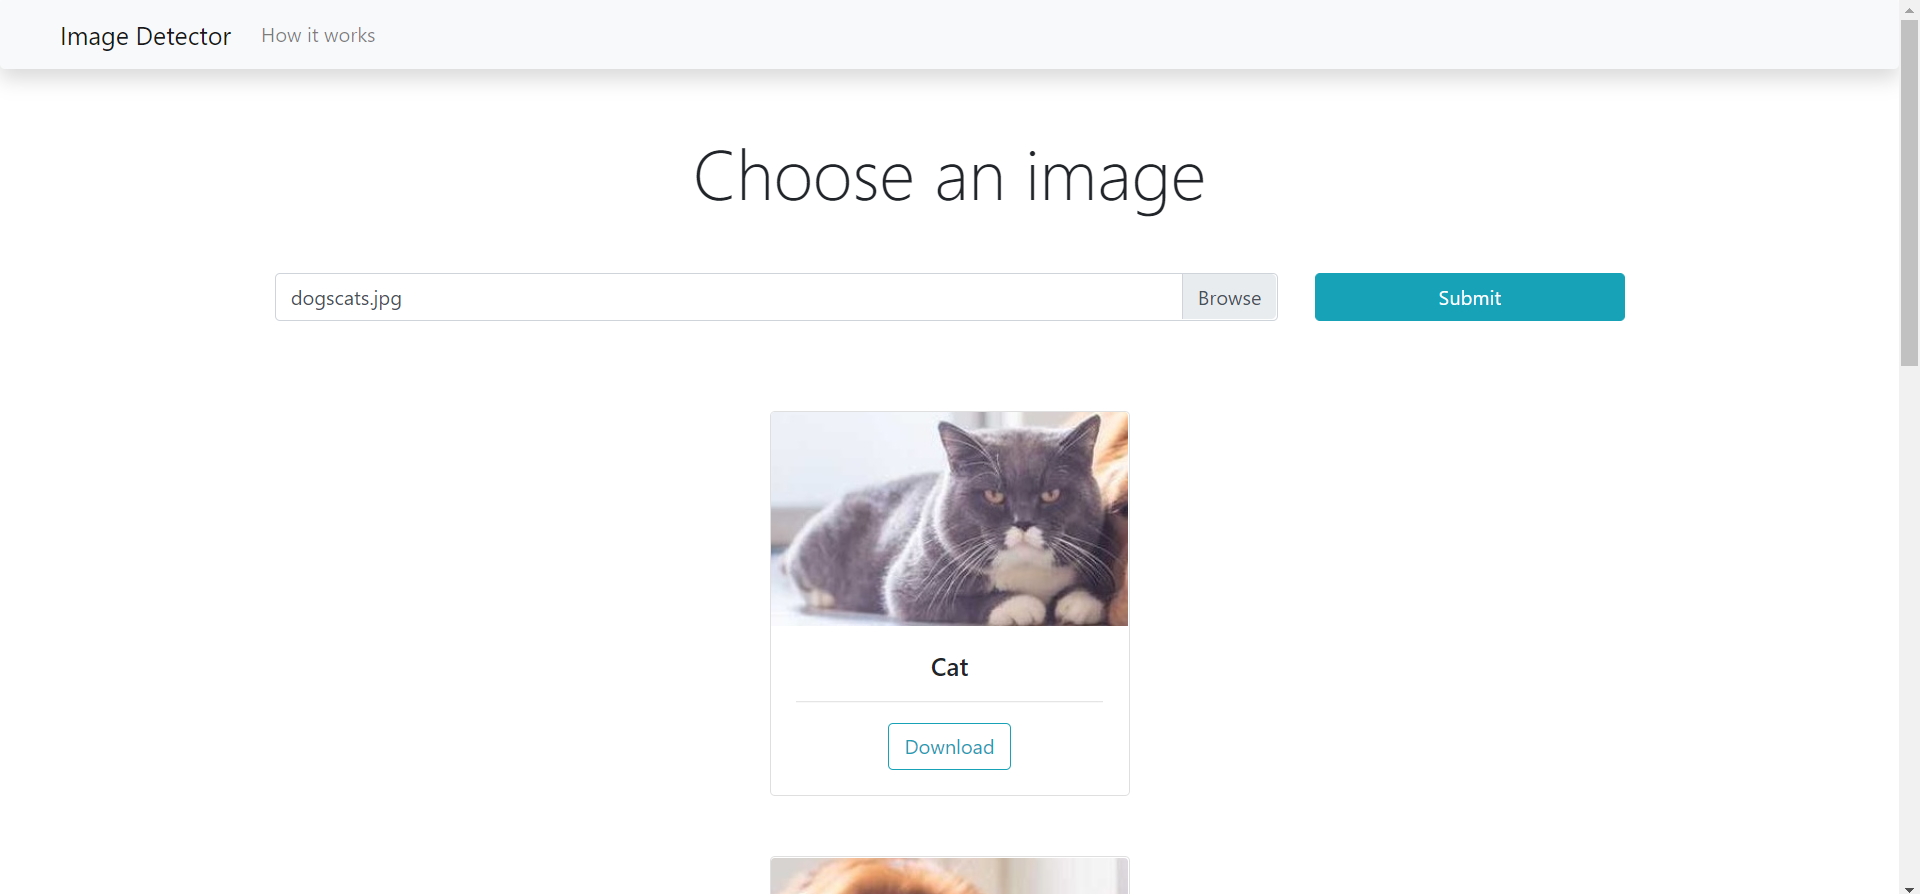
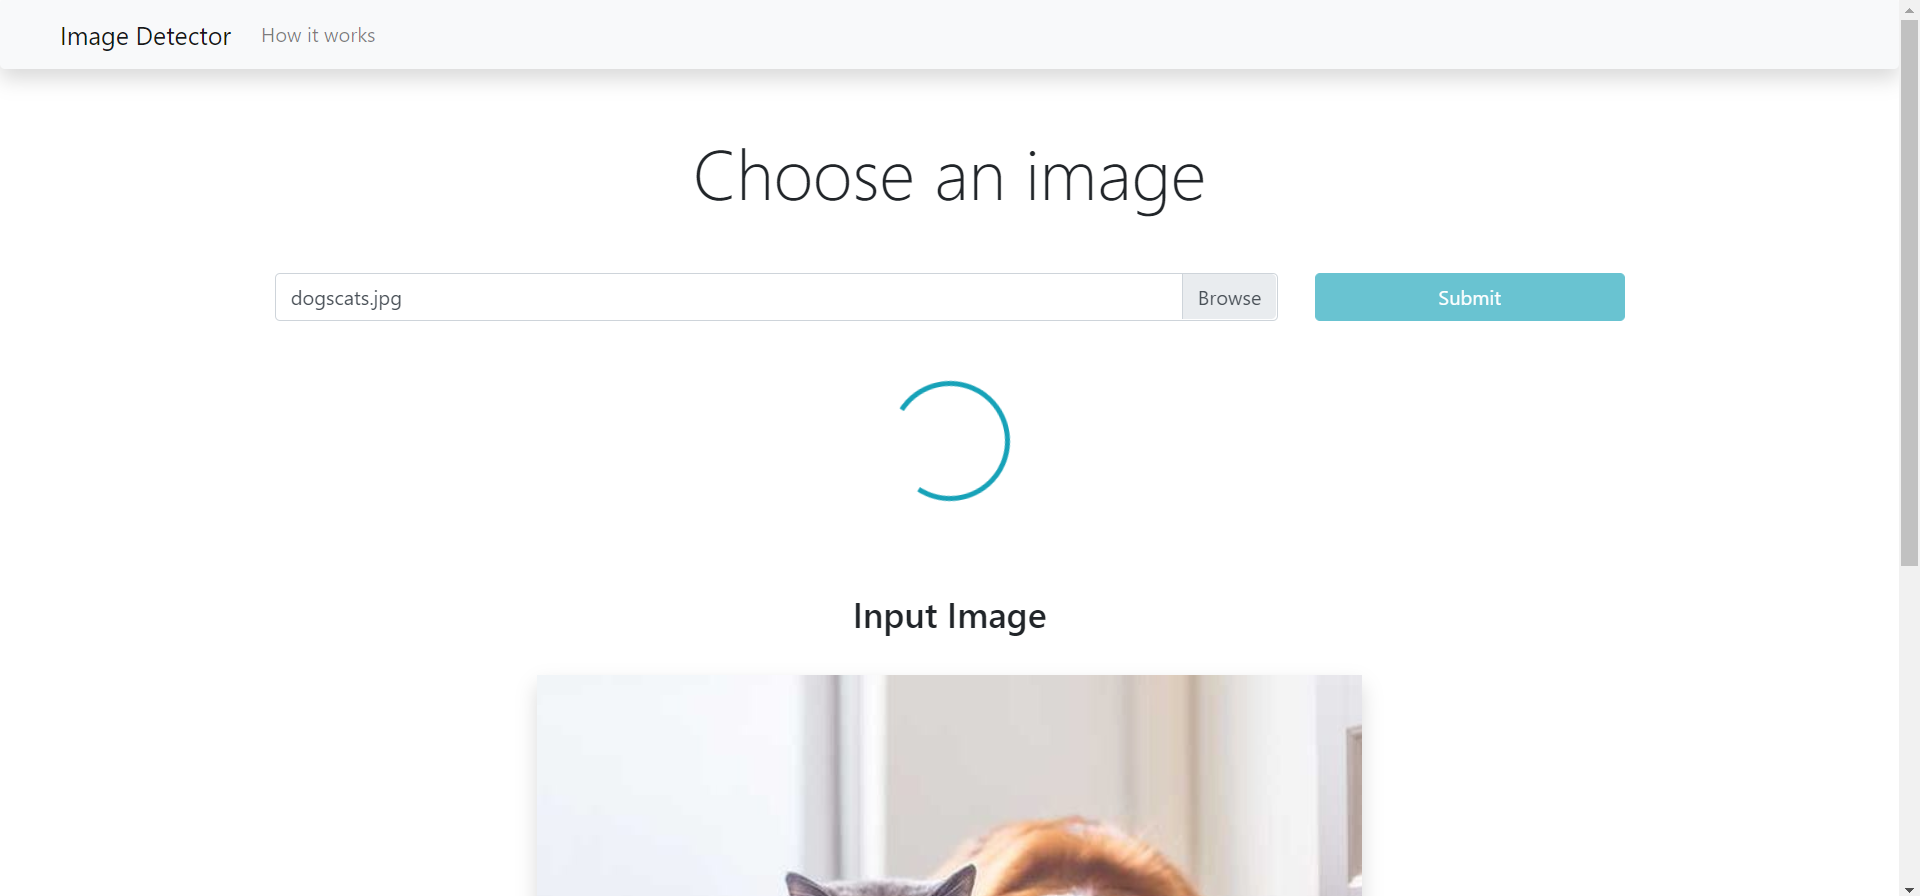
Click submit and wait till server processes.
-
View or Download the results.