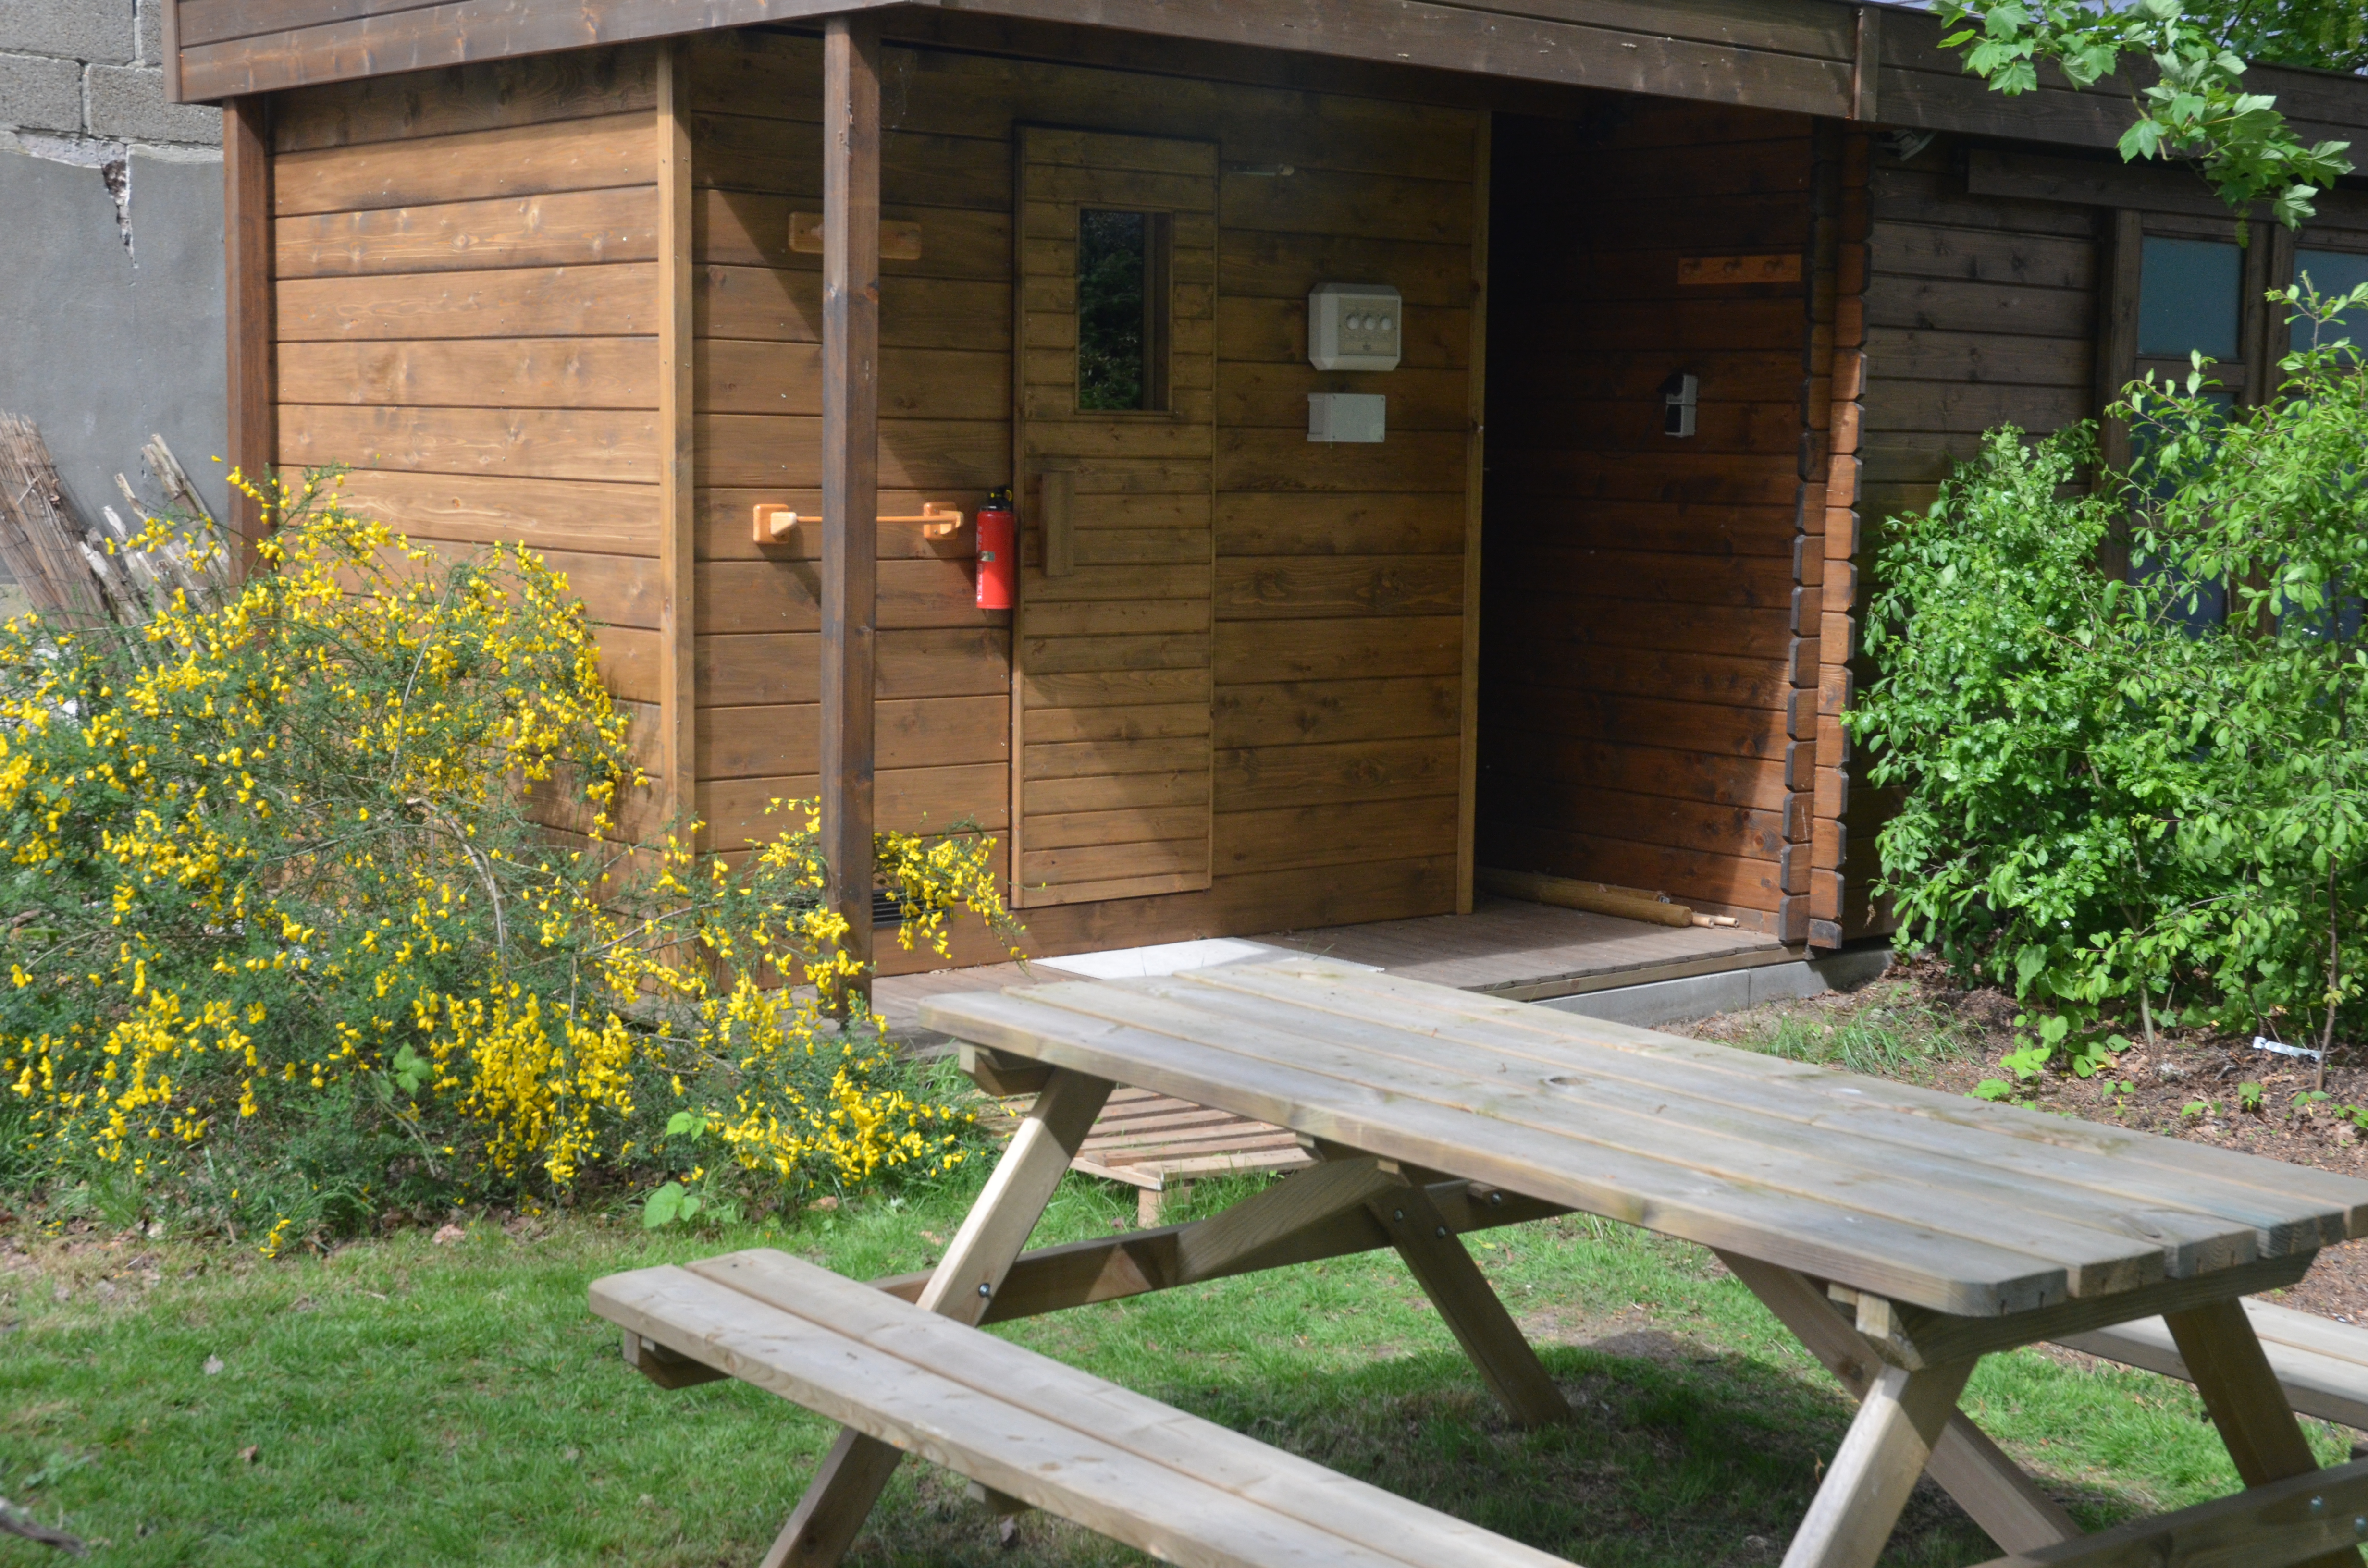
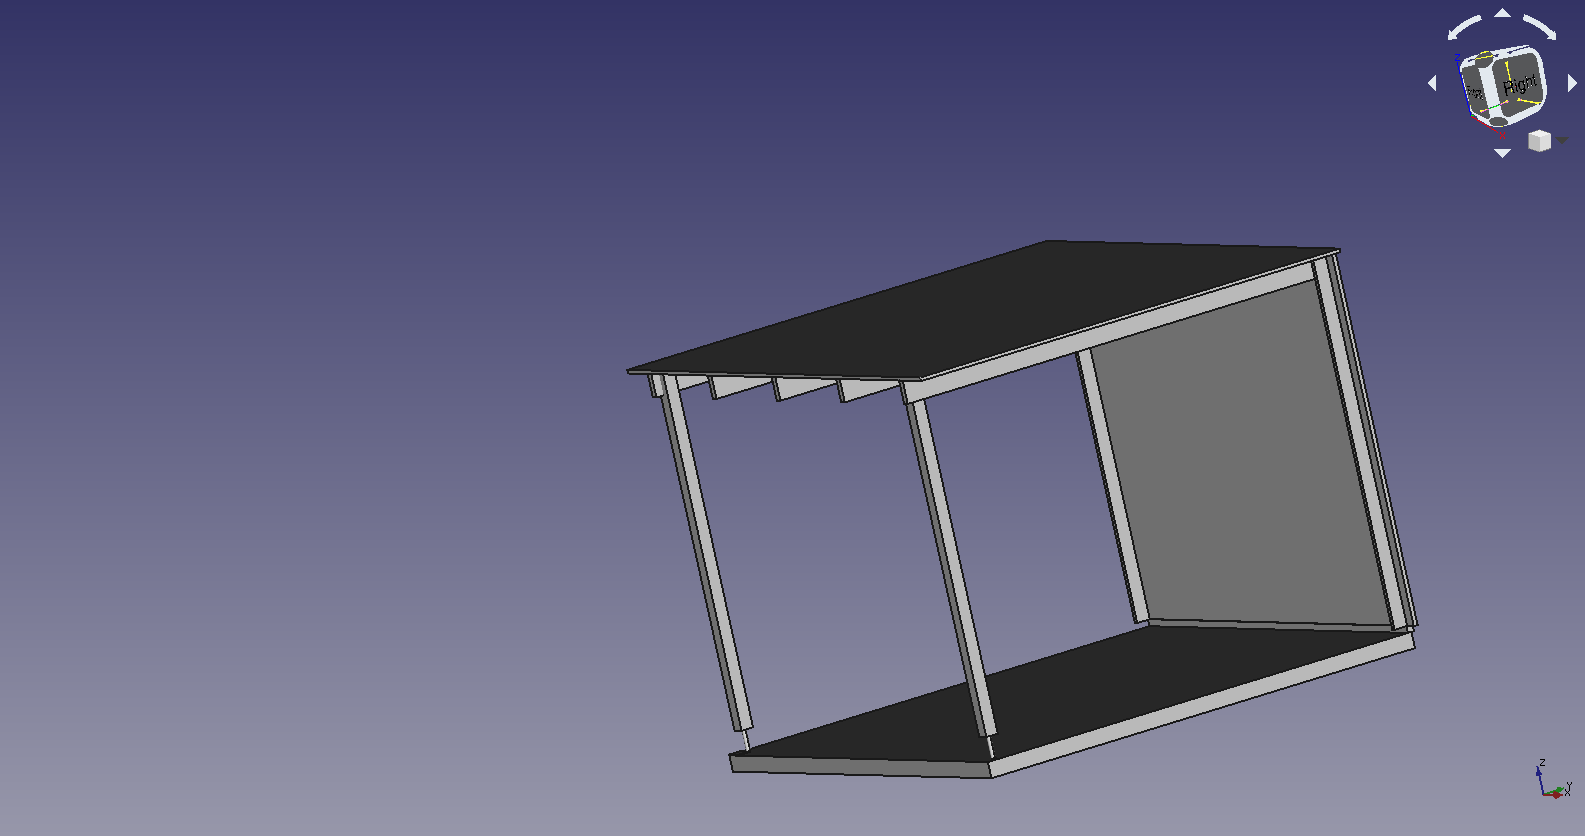
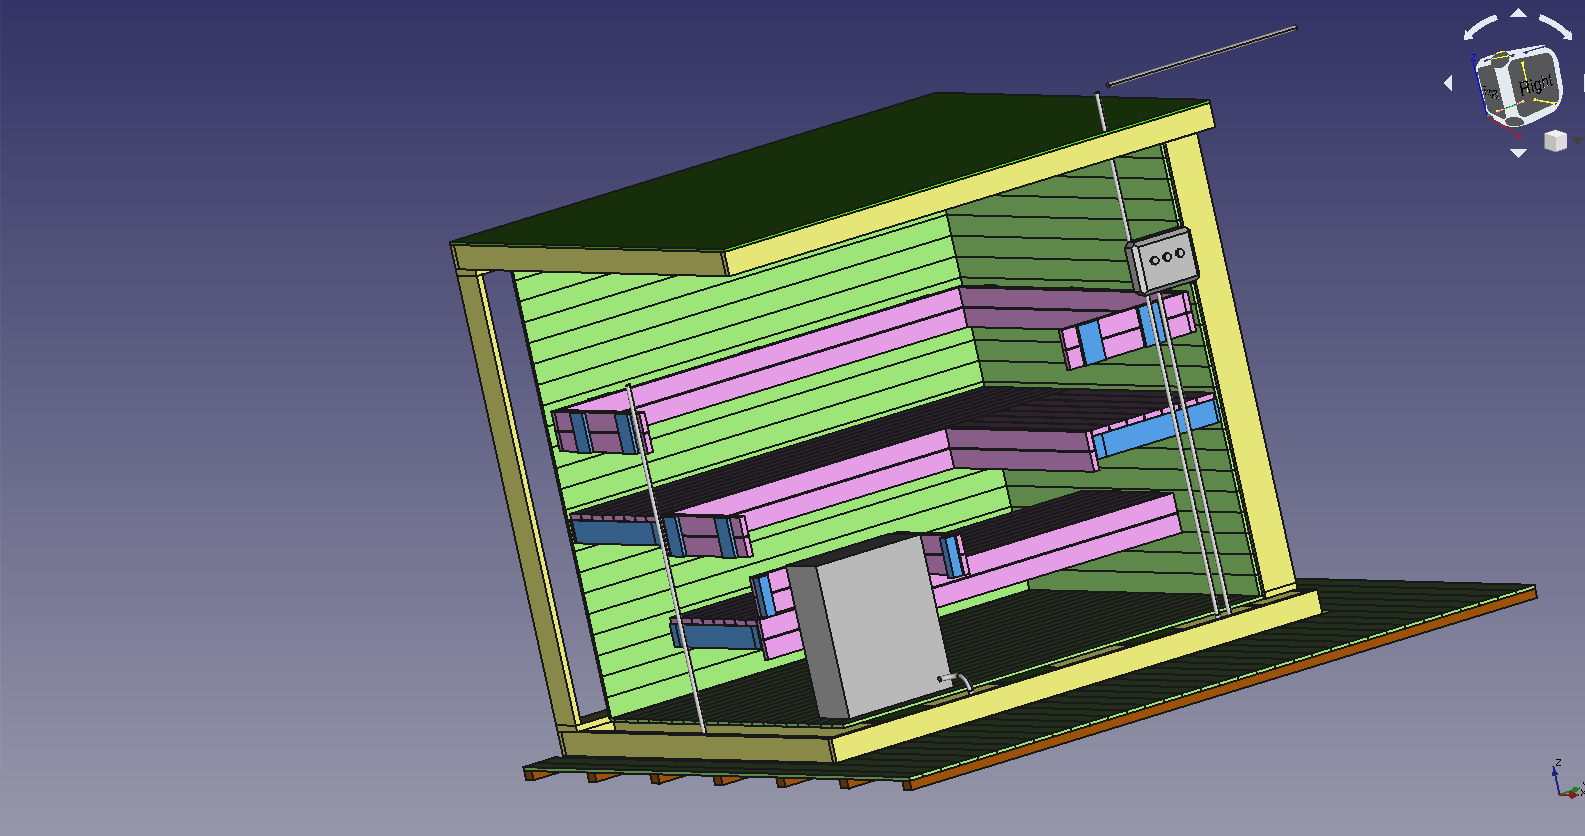
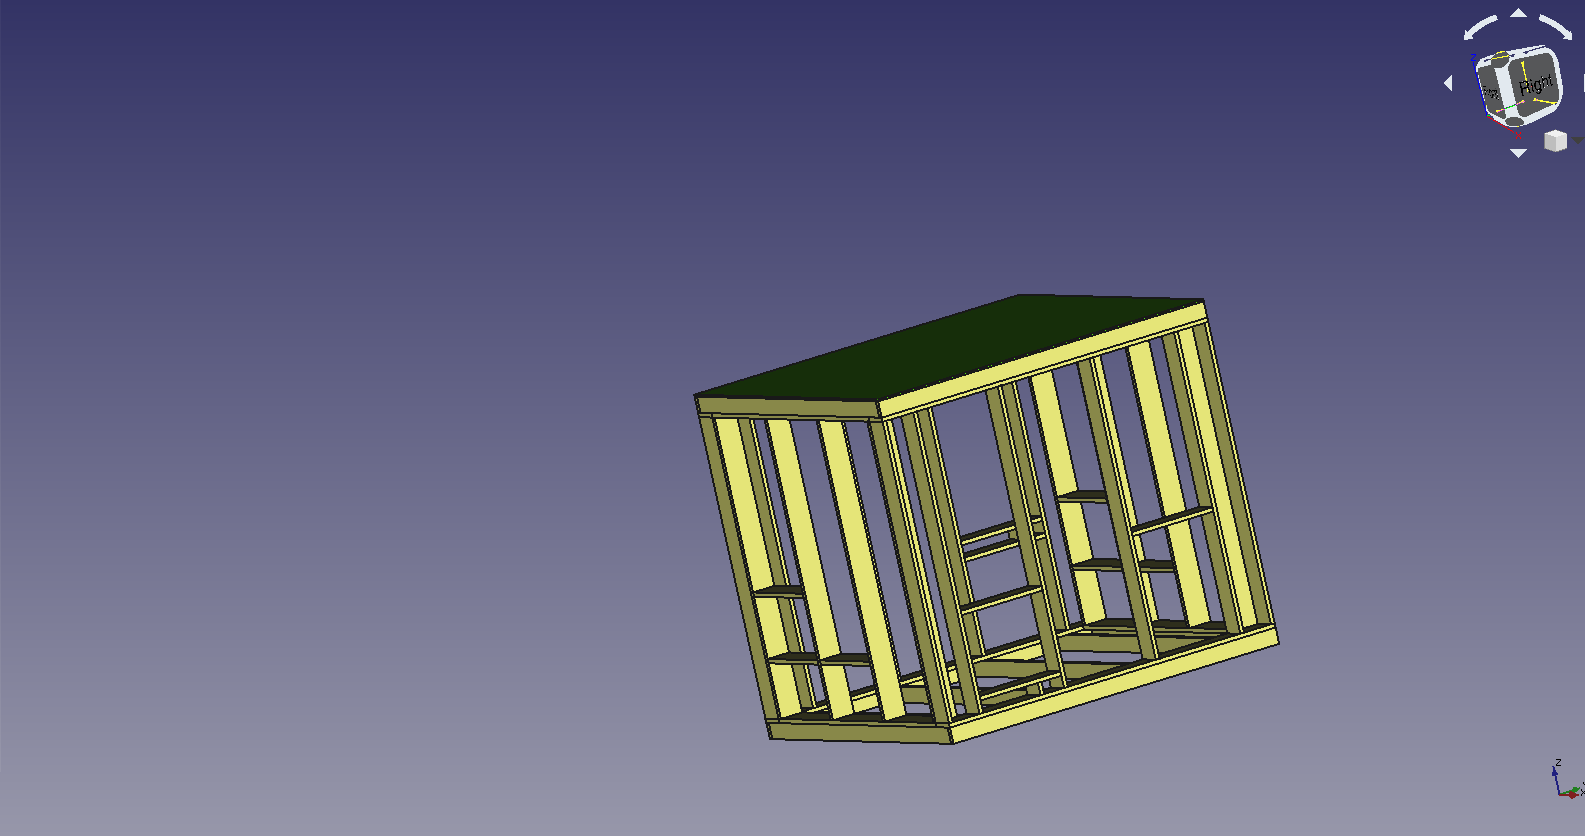
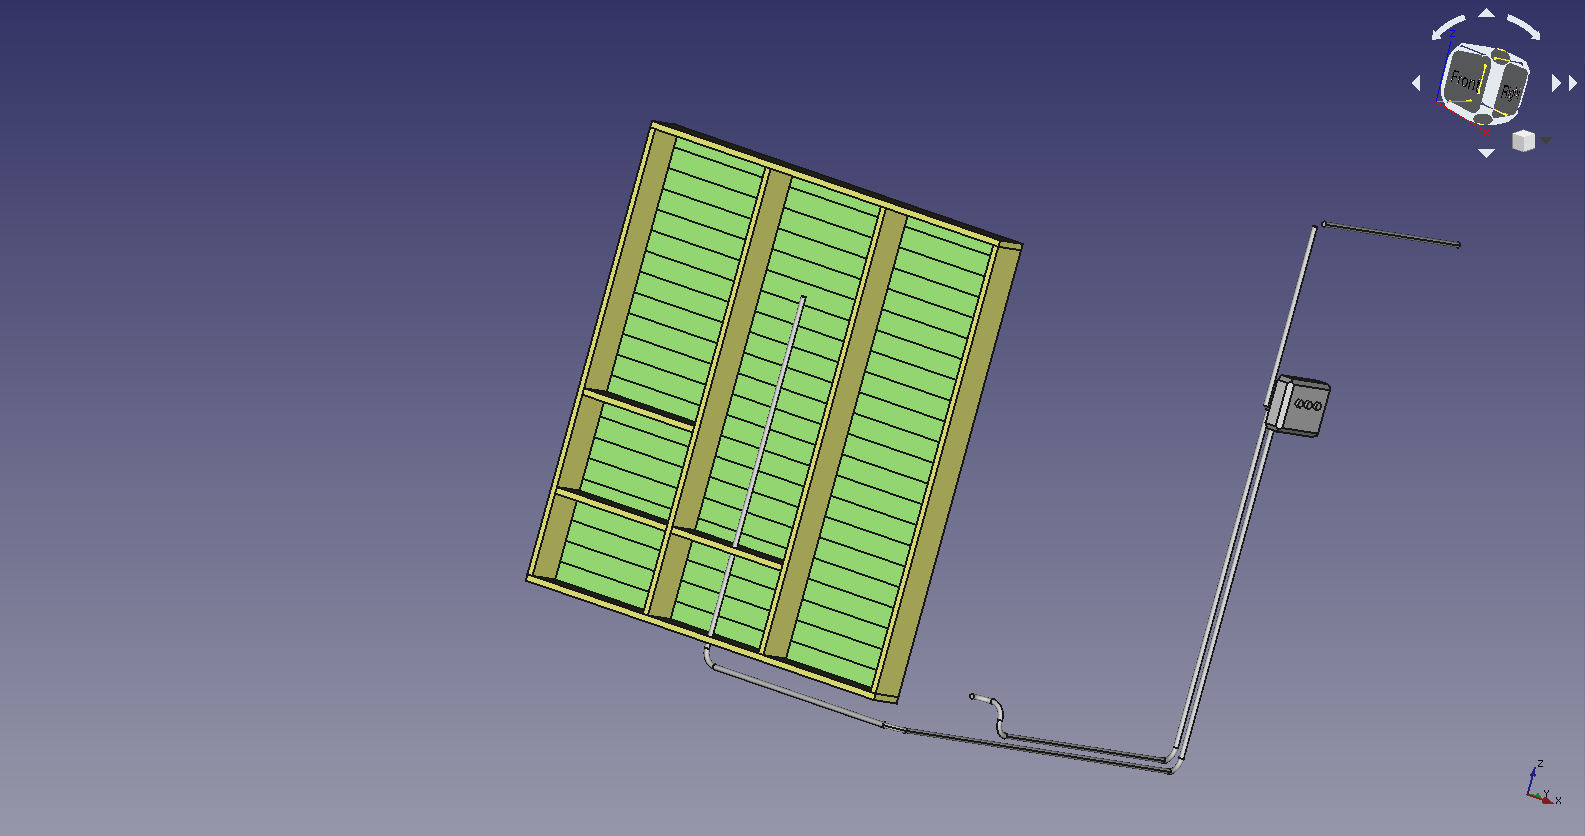
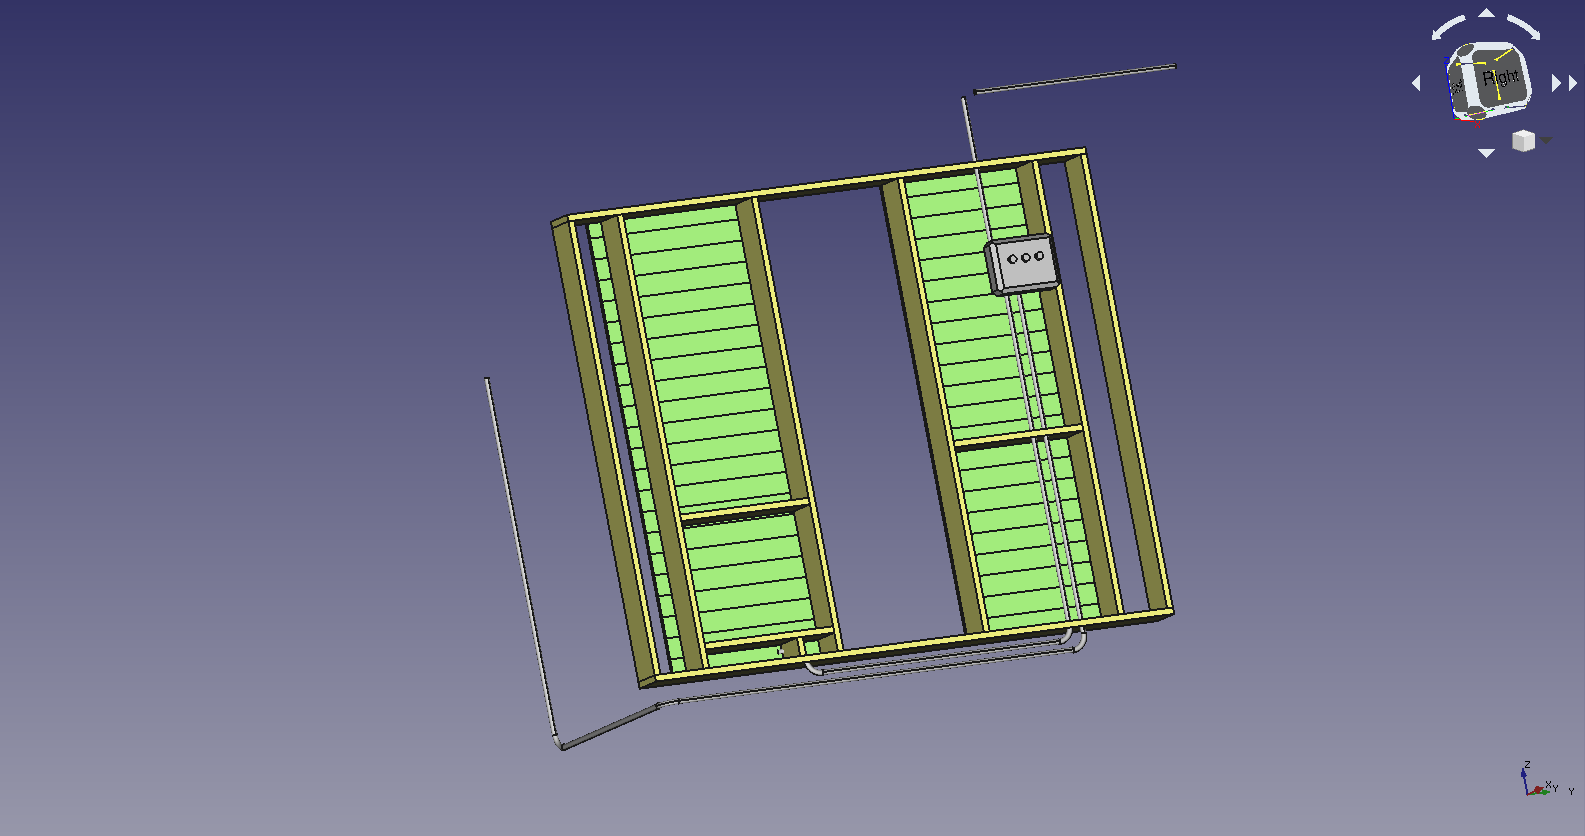
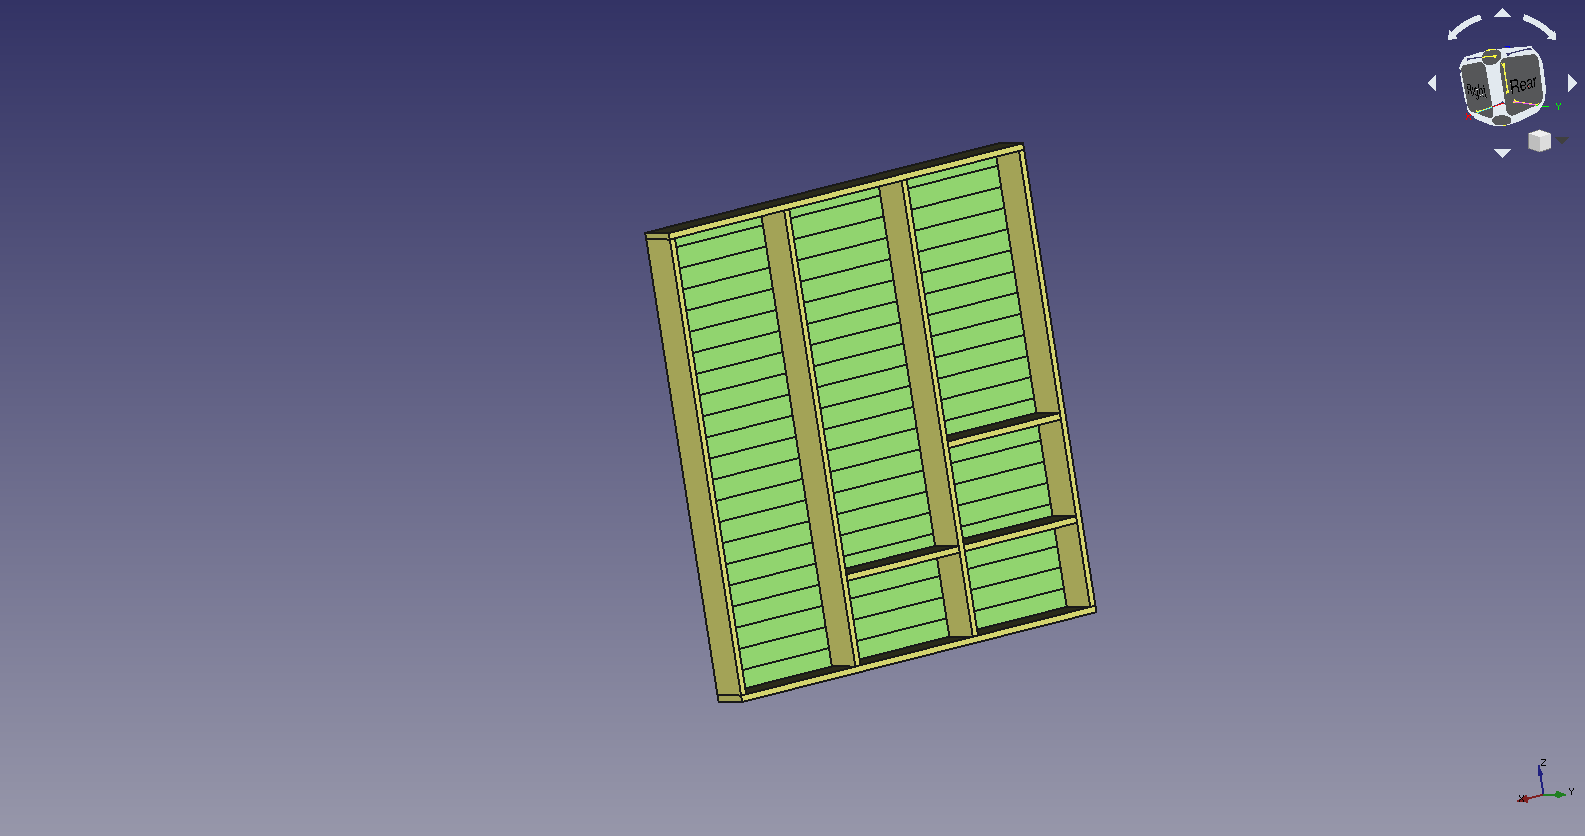
In this repository, you'll find a 3D design (FreeCAD) for an external sauna I built in 2013, as well as for an outside shower I added recently. It also provides some materials and costs overviews for the sauna (2013 in Belgium), as well as snapshots of the design and pictures taken during building. Through cost-effective procurement, I was able to limit the material costs to about 2000 euro.
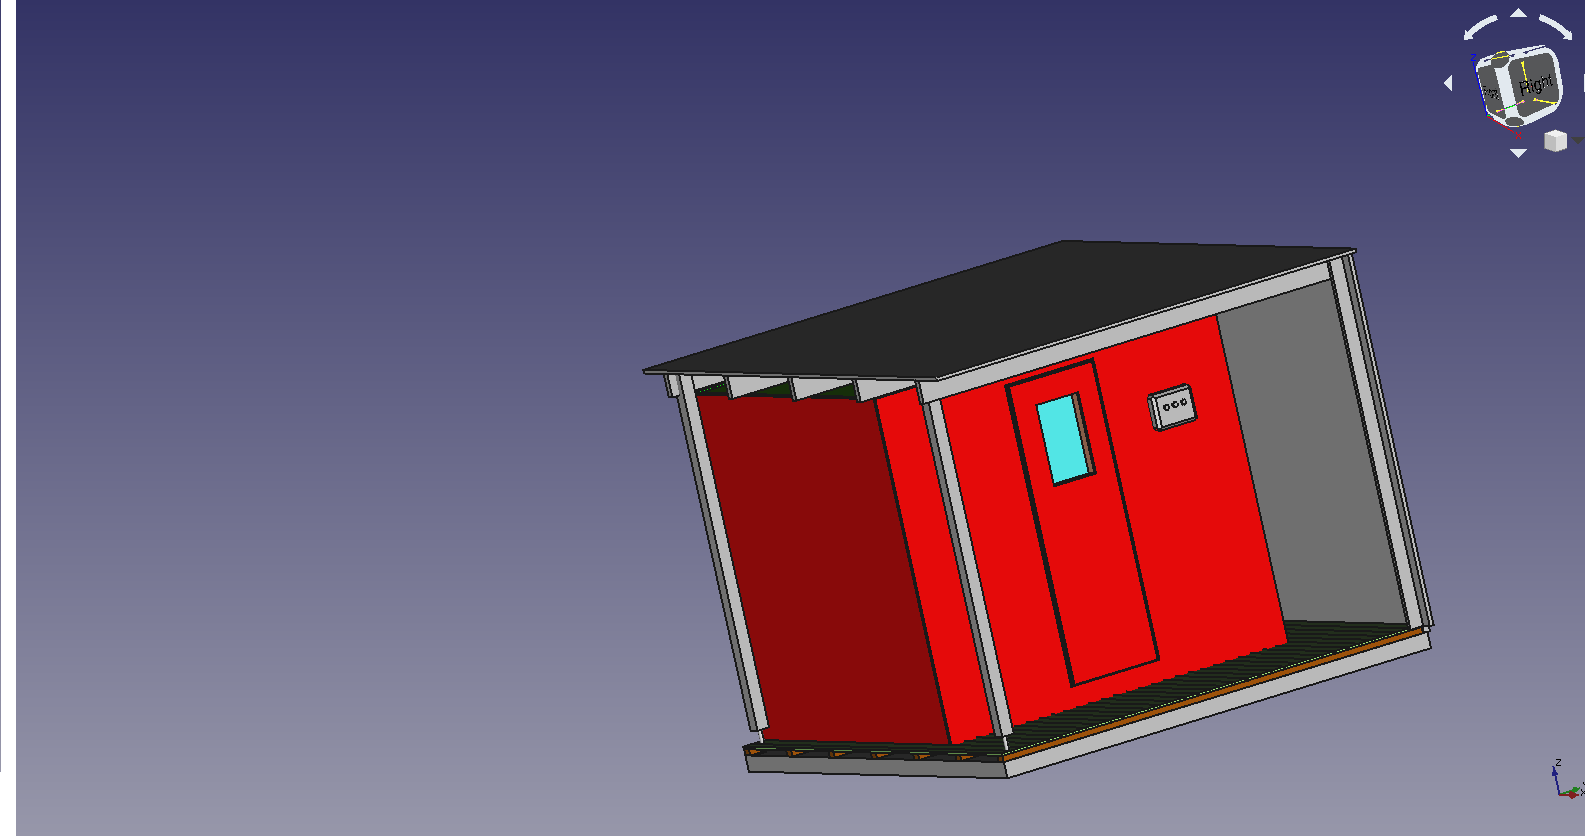
The sauna was to be installed outside, under an existing 2.2m high 3x3m hood of a garden shed. Hence, there is no roof as part of the sauna design. A stabilized platform was already available.
The available volume under the hood was the main driving factor for the dimensions. Within these limitations, I searched for an optimal layout with minimal inner dimensions (to reduce the volume and hence heating costs), and considering anthropometric dimensional data (95th percentile) for ergonomy. The sizes were then fine-tuned to the available wood and materials sizes. I am quite satisfied with the selected layout, as the sauna is comfortable and makes good use of the available space.
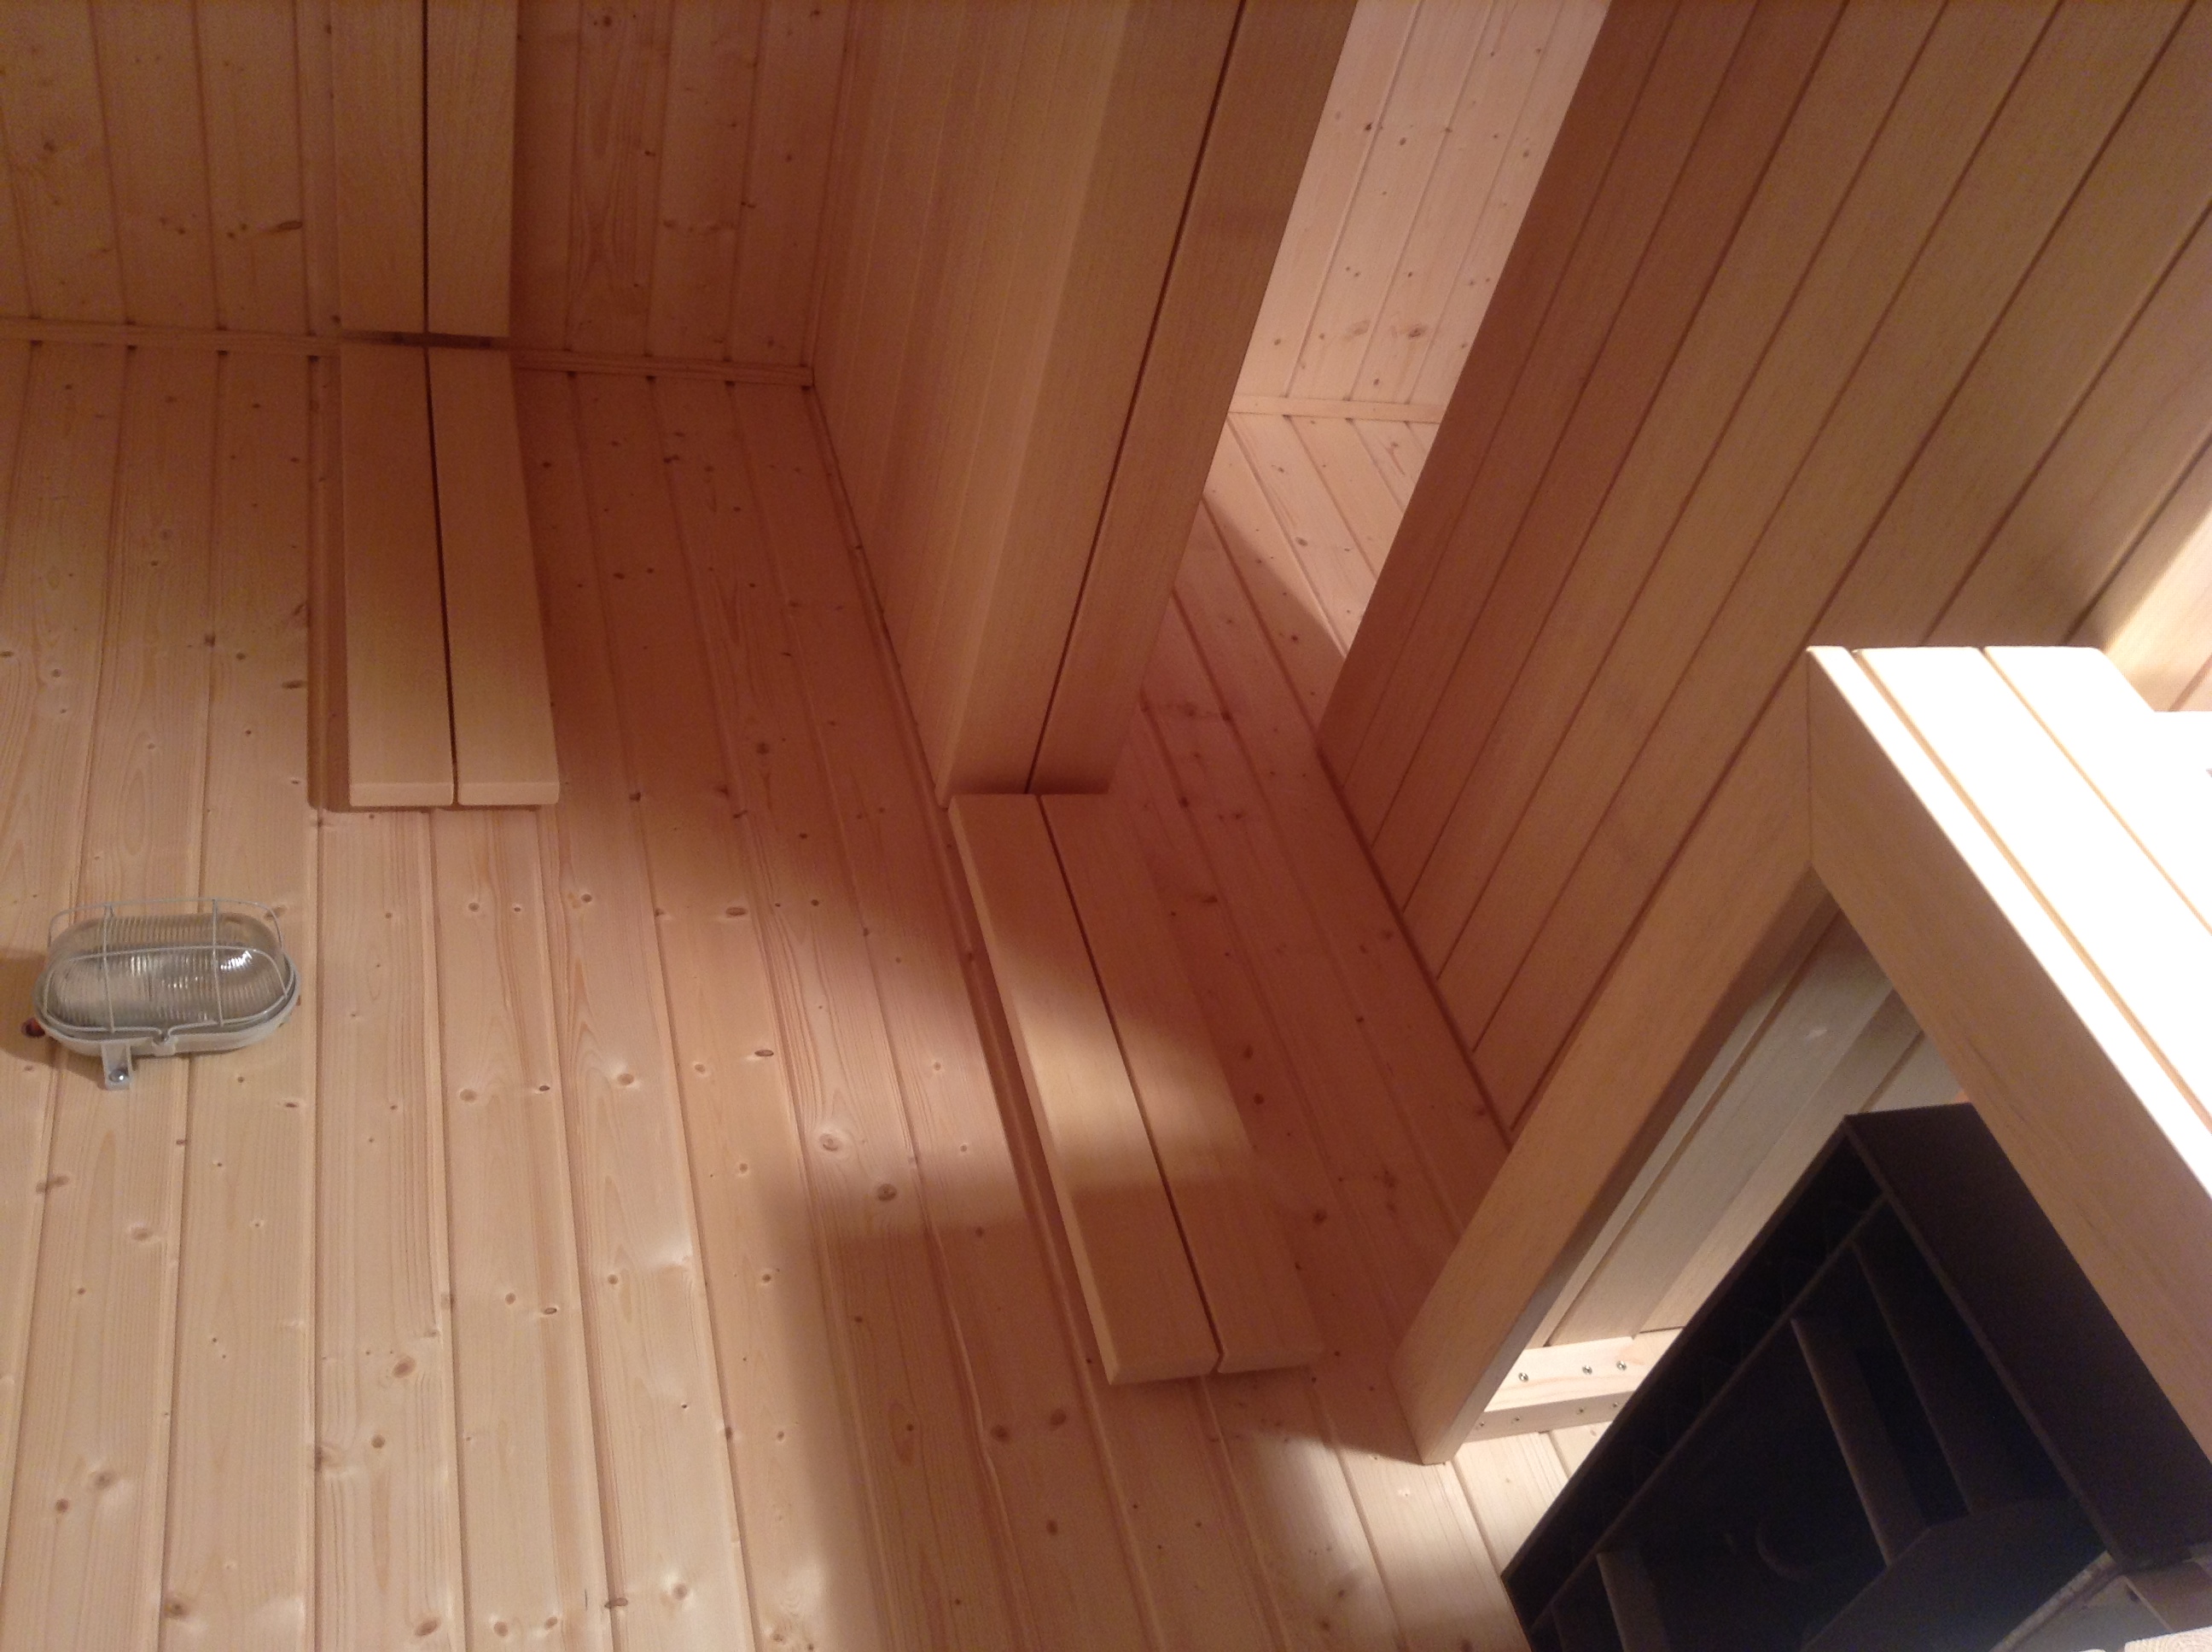
For the height, this meant one bench at 42cm height above the sauna floor (typical ergonomic sitting height), one at 84cm (to sit with feet on the lower bench), and then a sitting height of at least 100cm (95th percentile) between the top bench and the roof - I ended up at 104cm. Given the limitation in the vertical space, I had to limit the floor and ceiling isolation thickness to 10cm only. Total external height is 213cm, total internal height is 188cm.
For the internal width, I took 2m lying length (95th percentile), and for the depth 1.8m (50th percentile, and fine for me), which conveniently allowed me to have 3 standard-sized segments in both side walls. What I forgot is to consider that two persons lying down will collide in the corner. Hence, if you have room, take some extra margin.
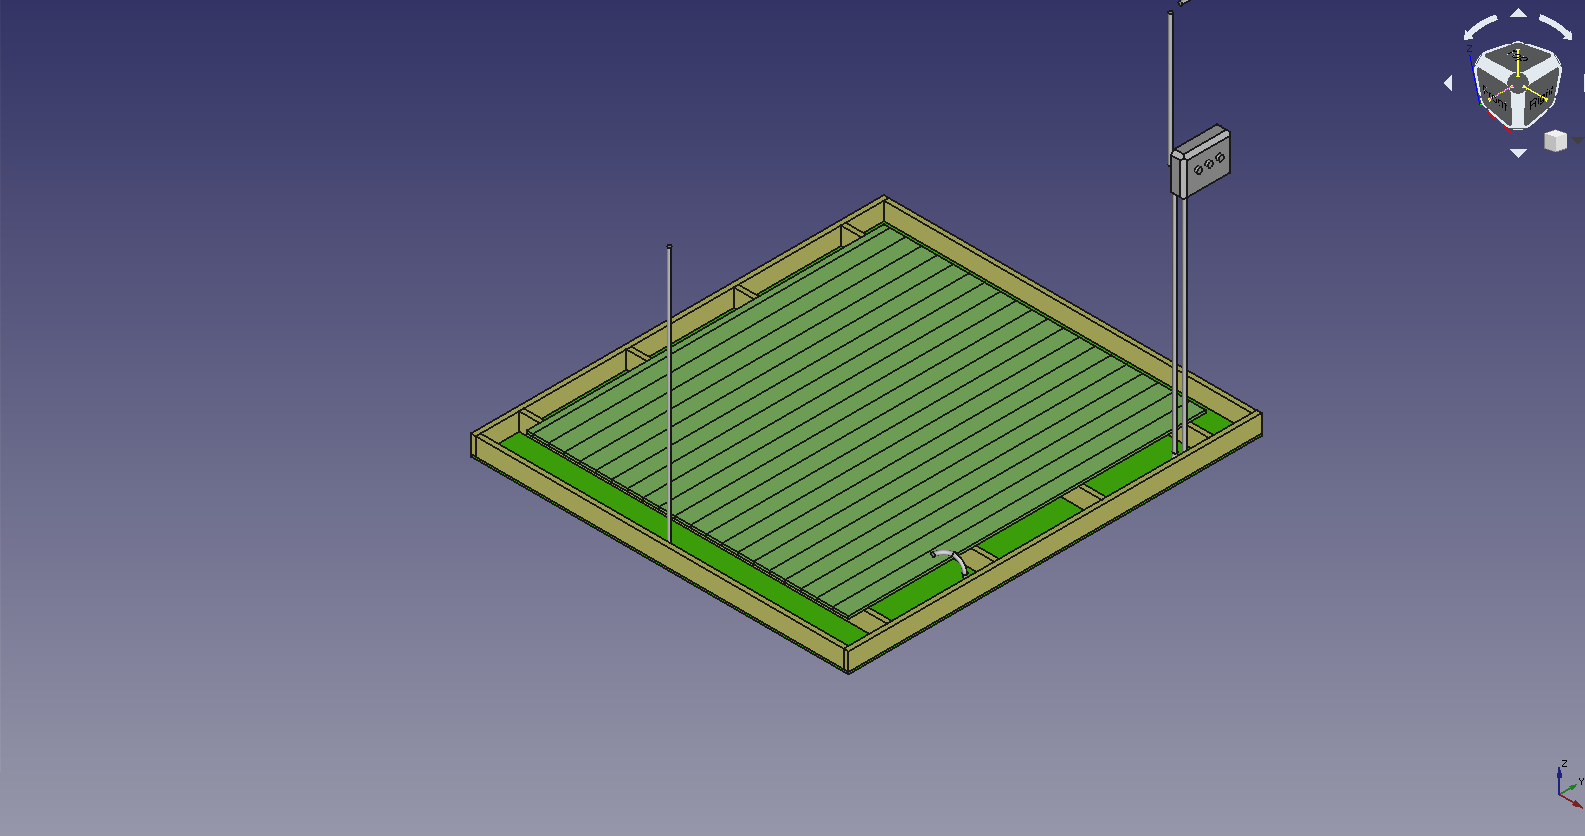
The sauna is resting on the base beams of the terrace, to allow for air to circulate in the cavity in the walls, in order to keep them dry.
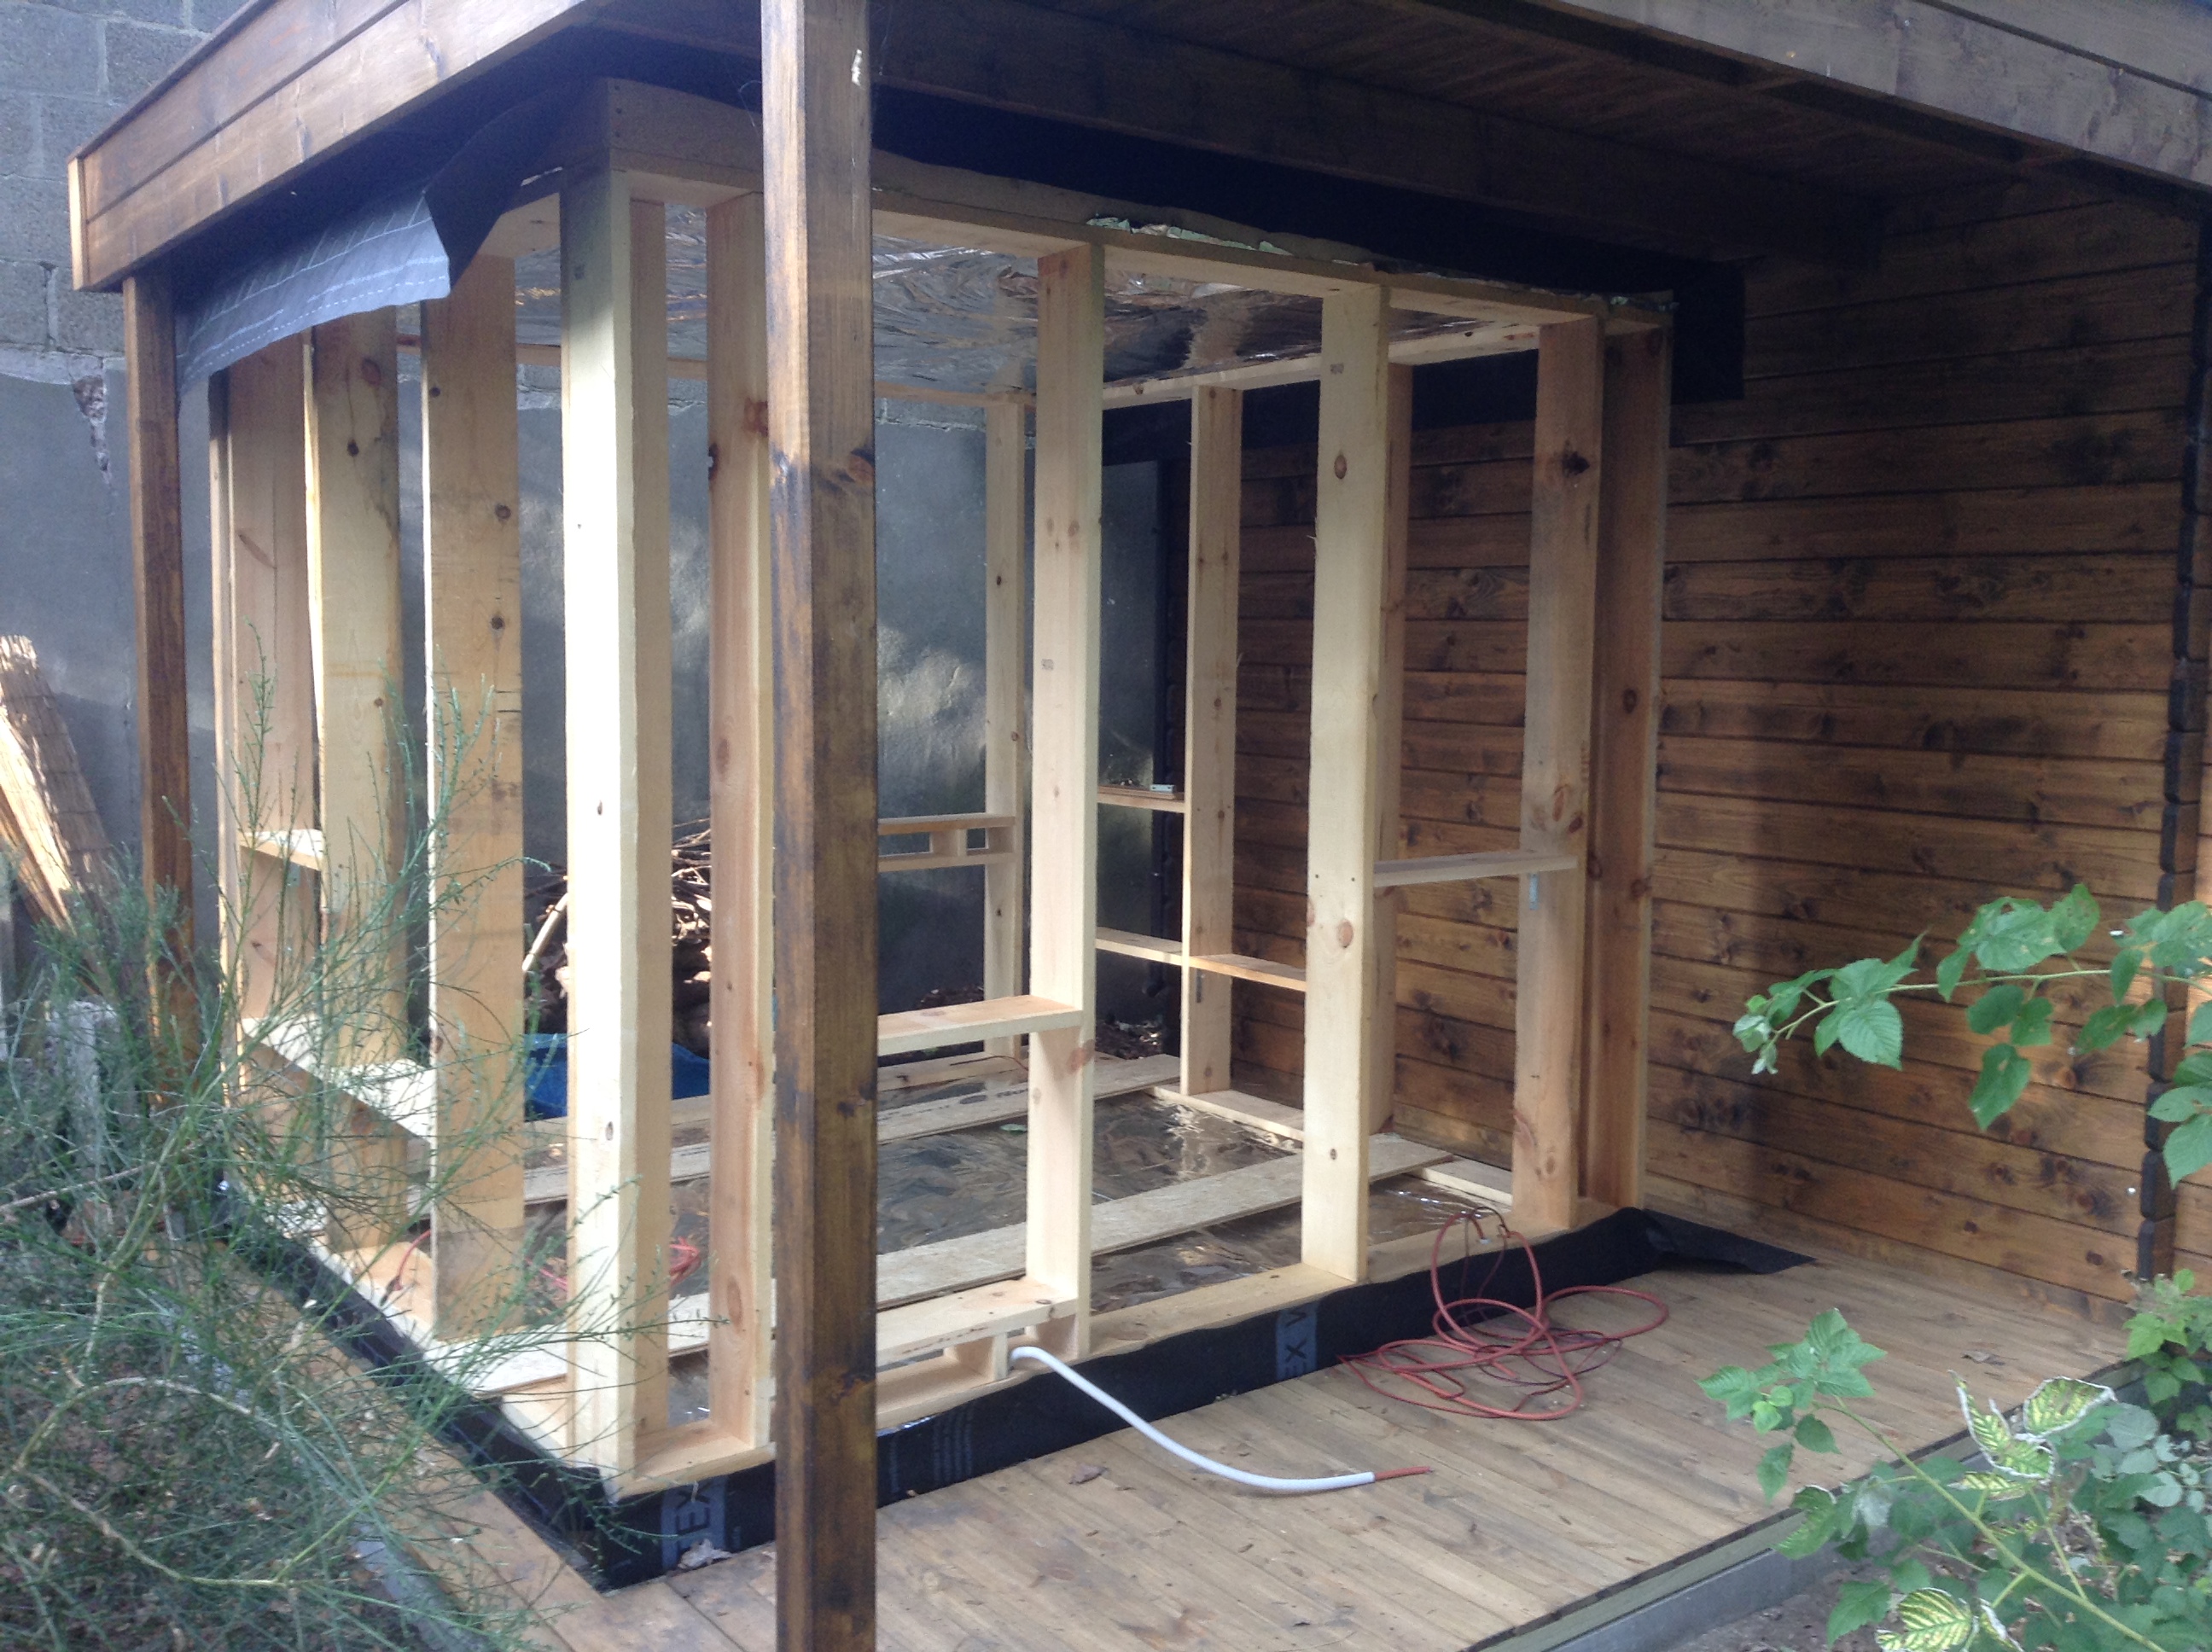
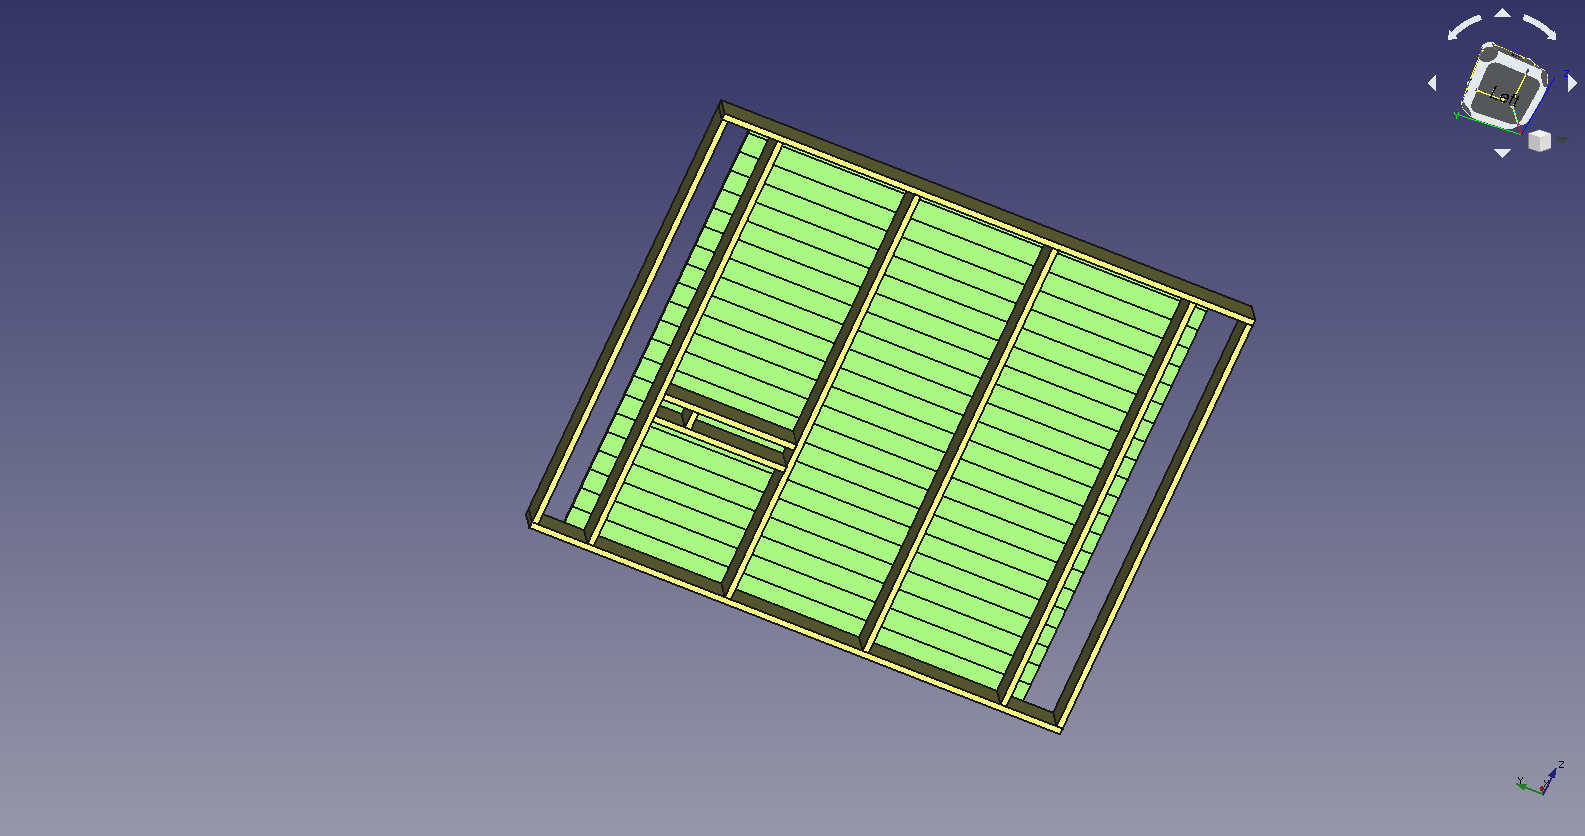
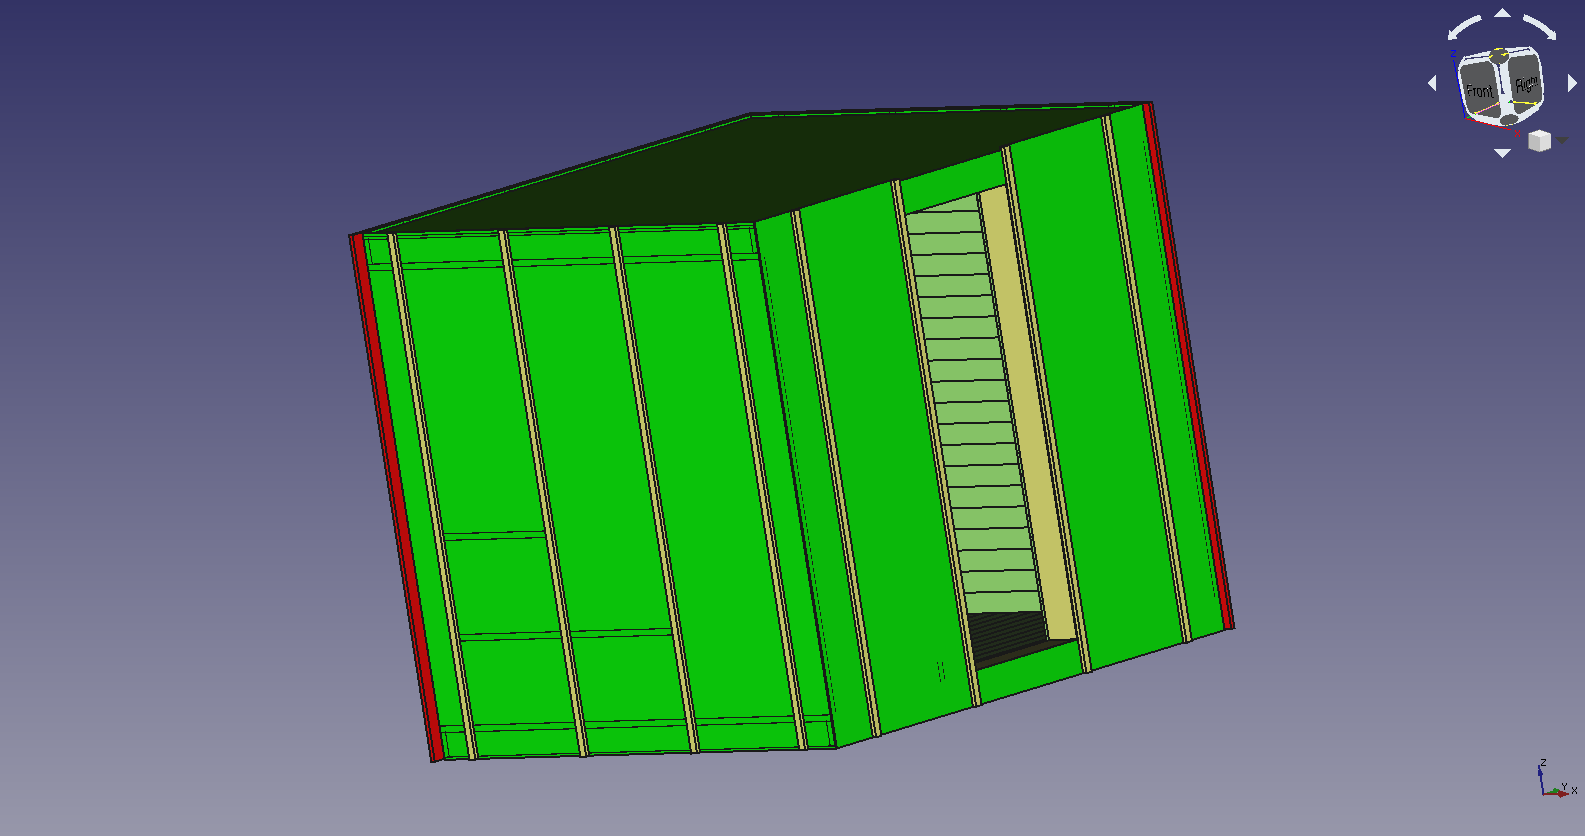
The construction is based on a wood skeleton, with 58cm in between the beams (for fitting 60cm rockwool).
This was roughly the manufacturing and assembly sequence:
- Assembly of the terrace, with 7 parallel base beams, and tongue-and-groove planks around the area where the sauna will be installed (all treated with Xyladecor).
- Covering the area of where the sauna will be with 1cmx1cm chicken wire, against mice.
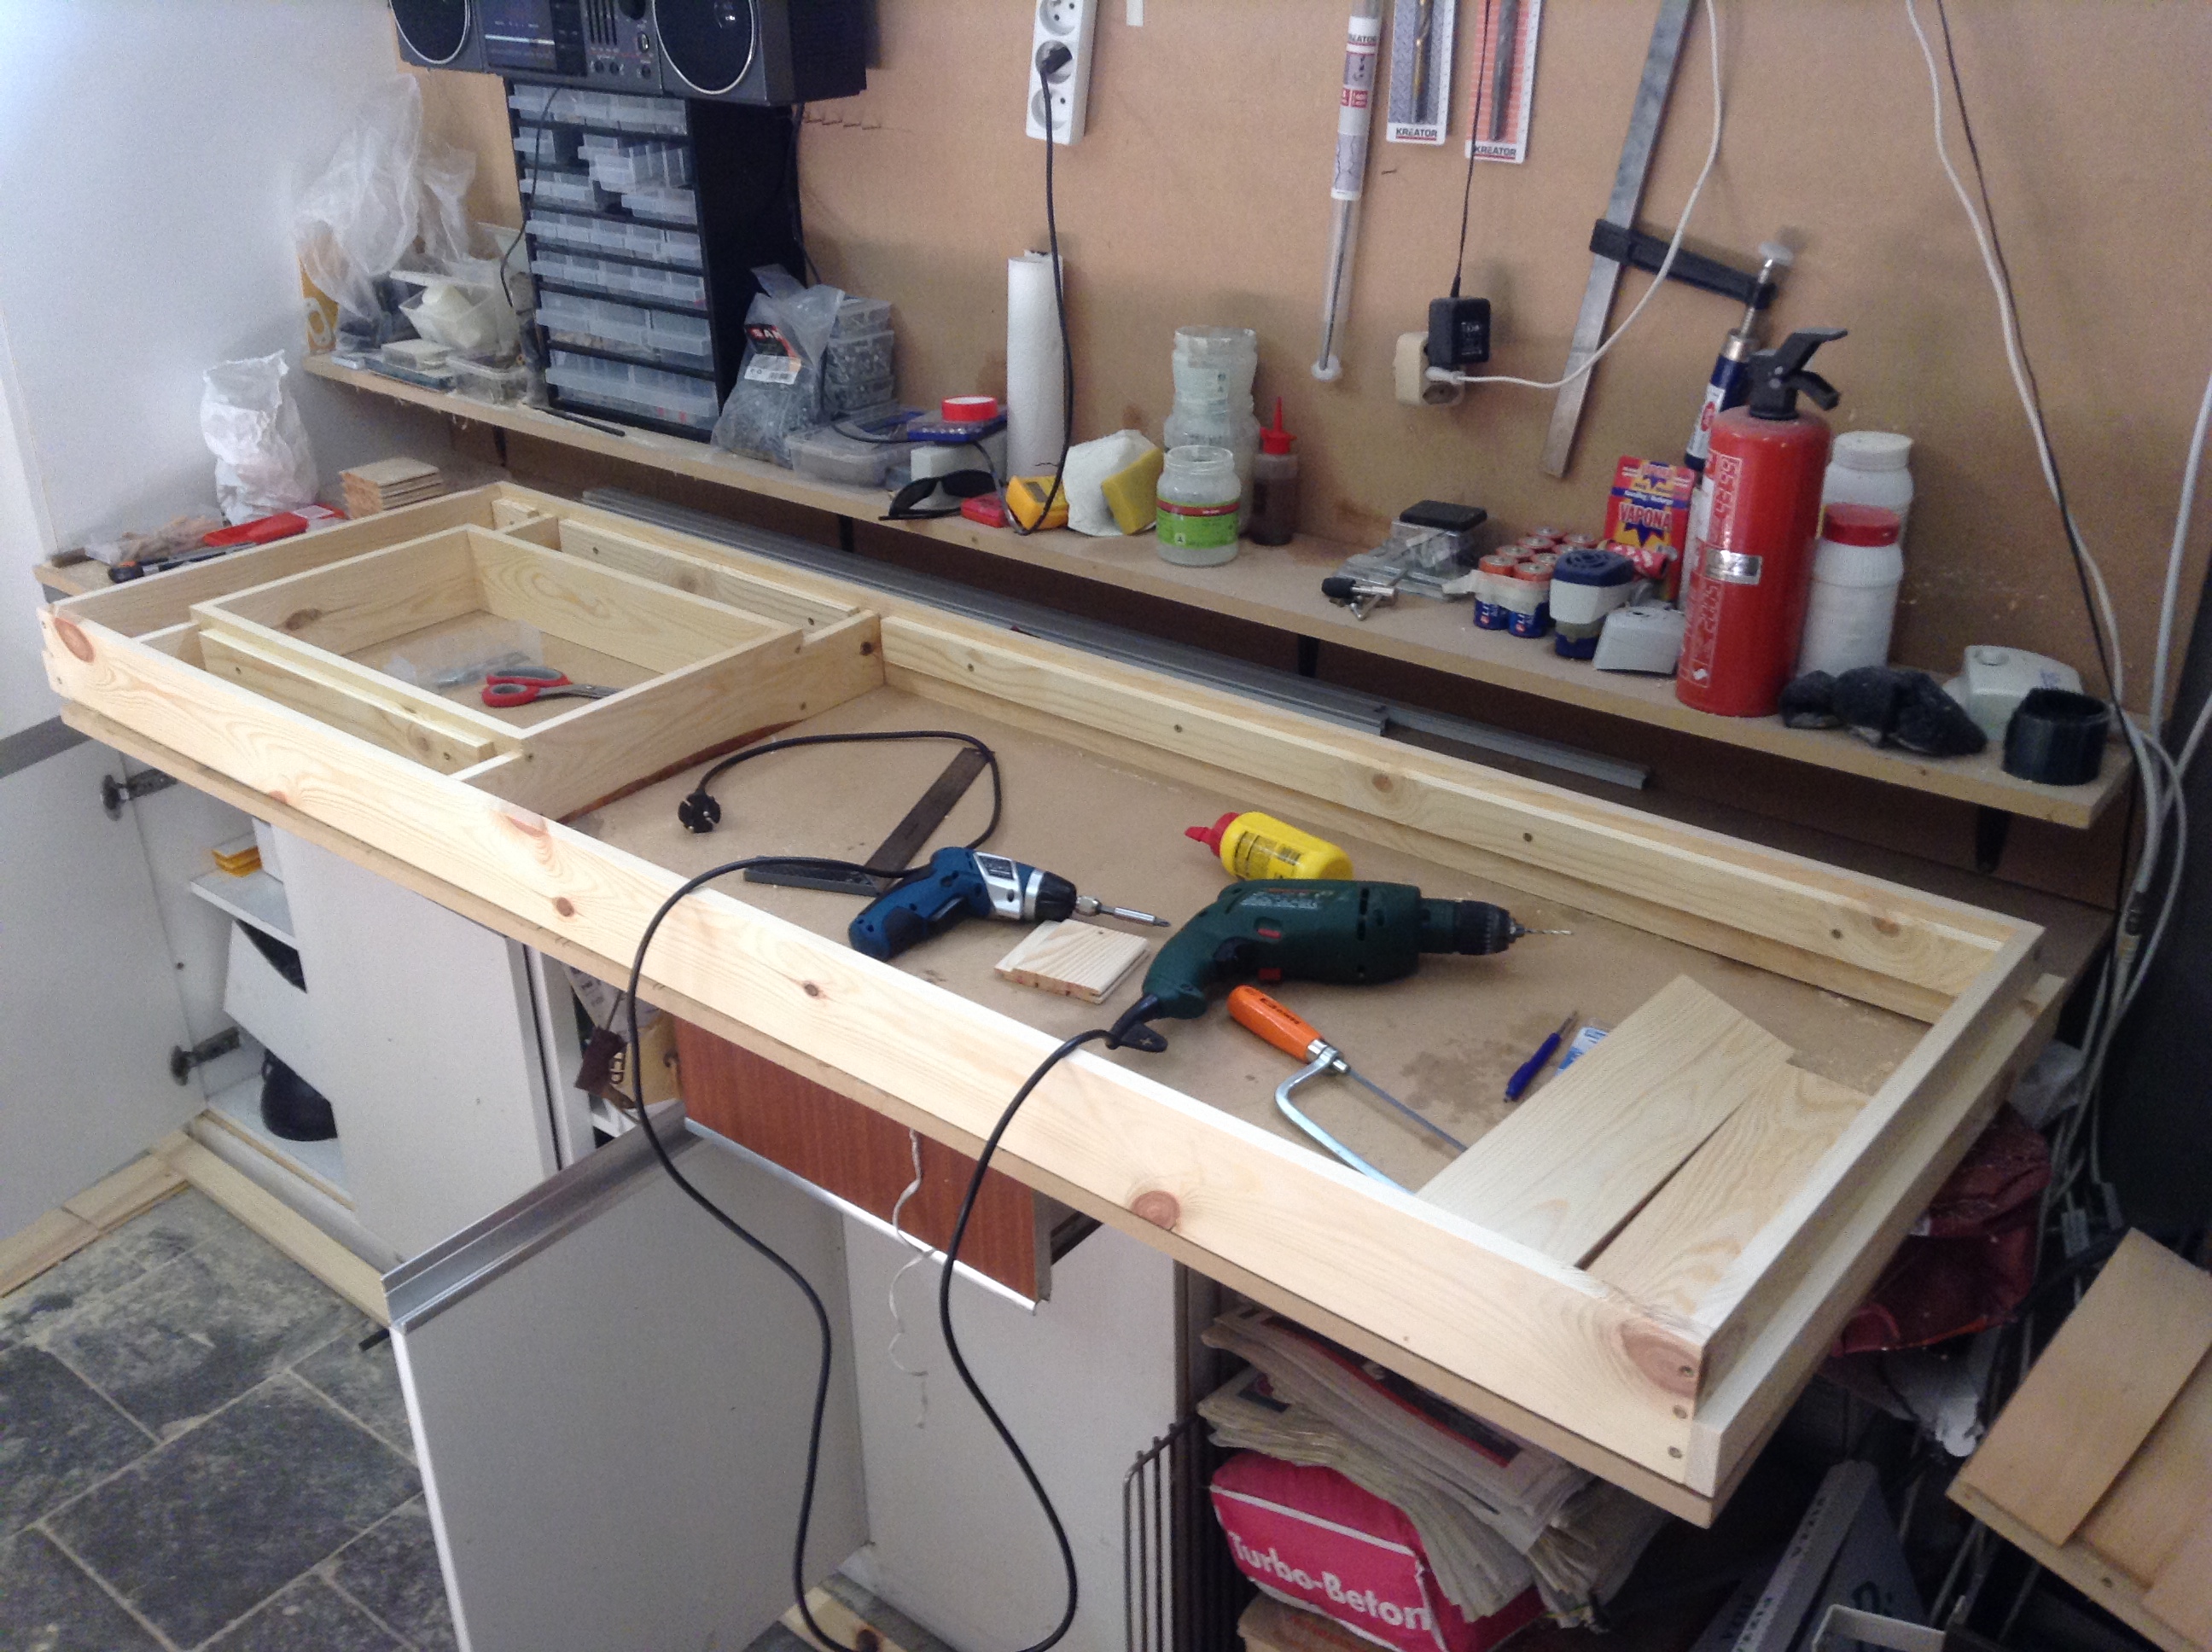
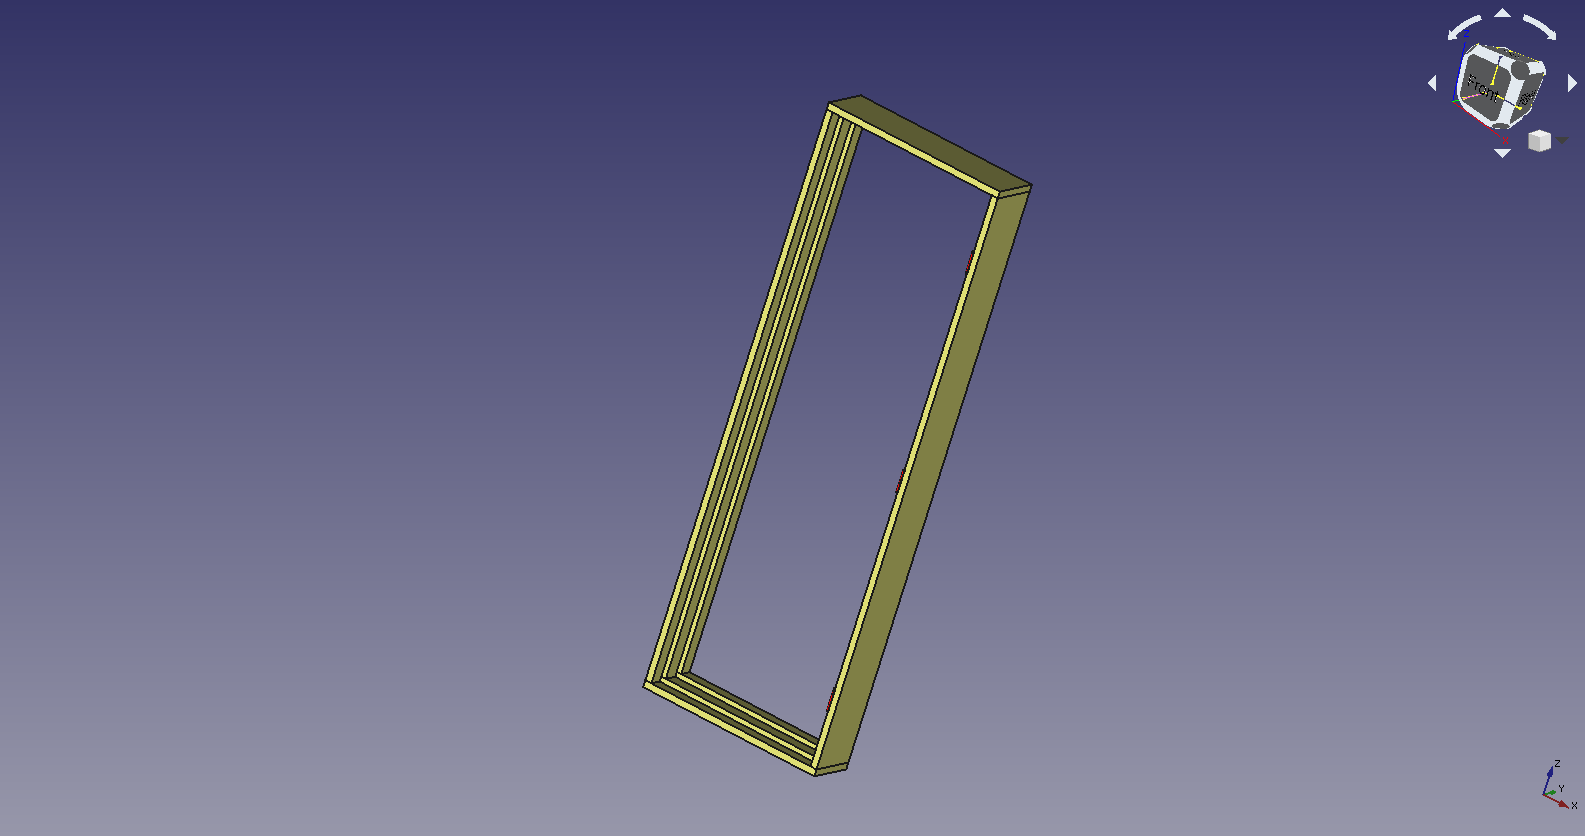
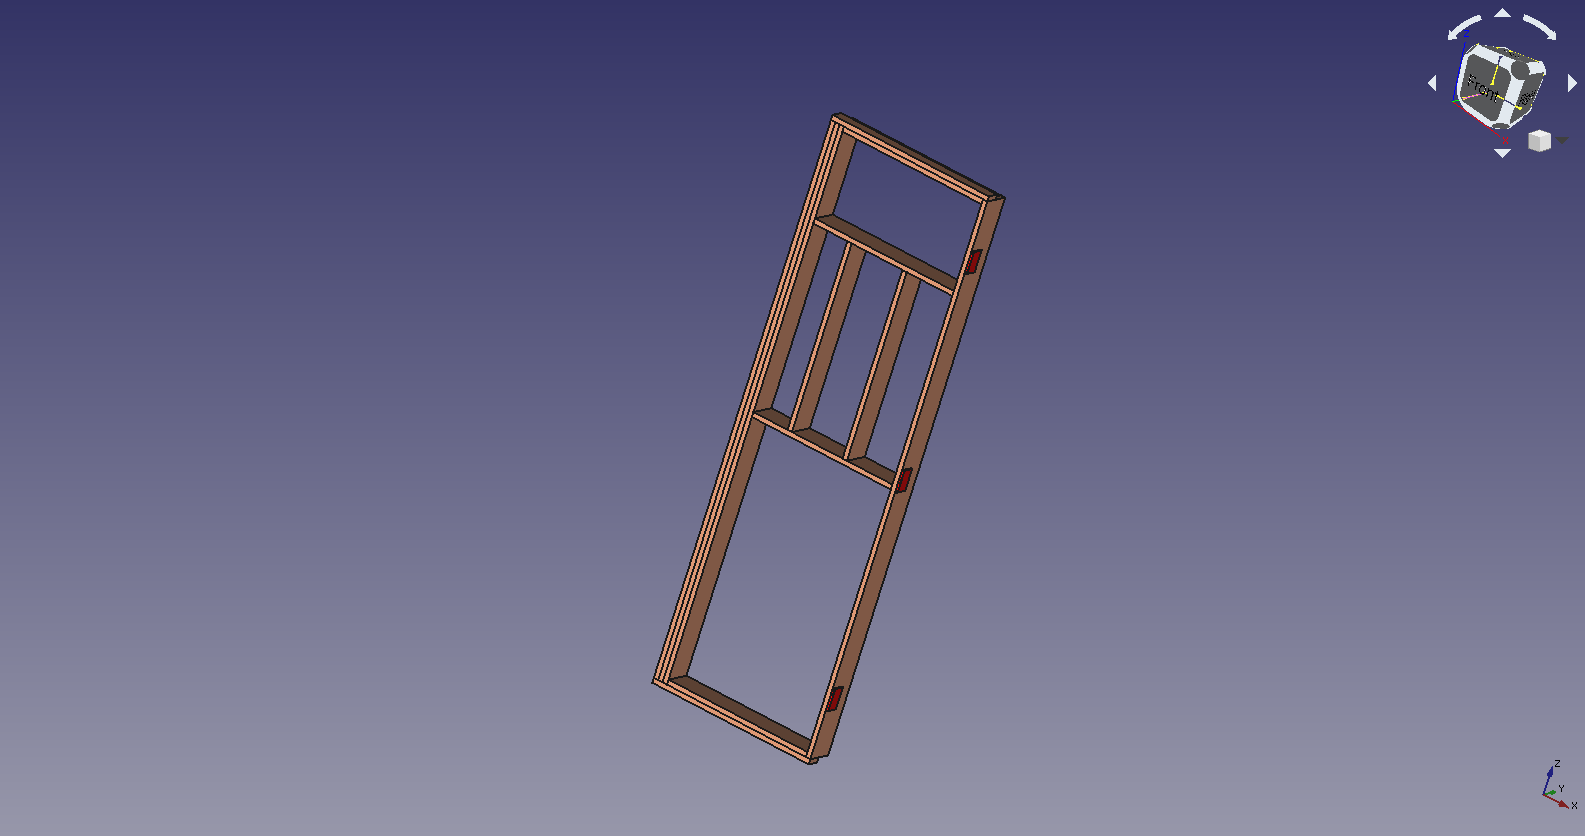
- In a workshop, assembly of the skeletons for all 6 faces of the sauna.
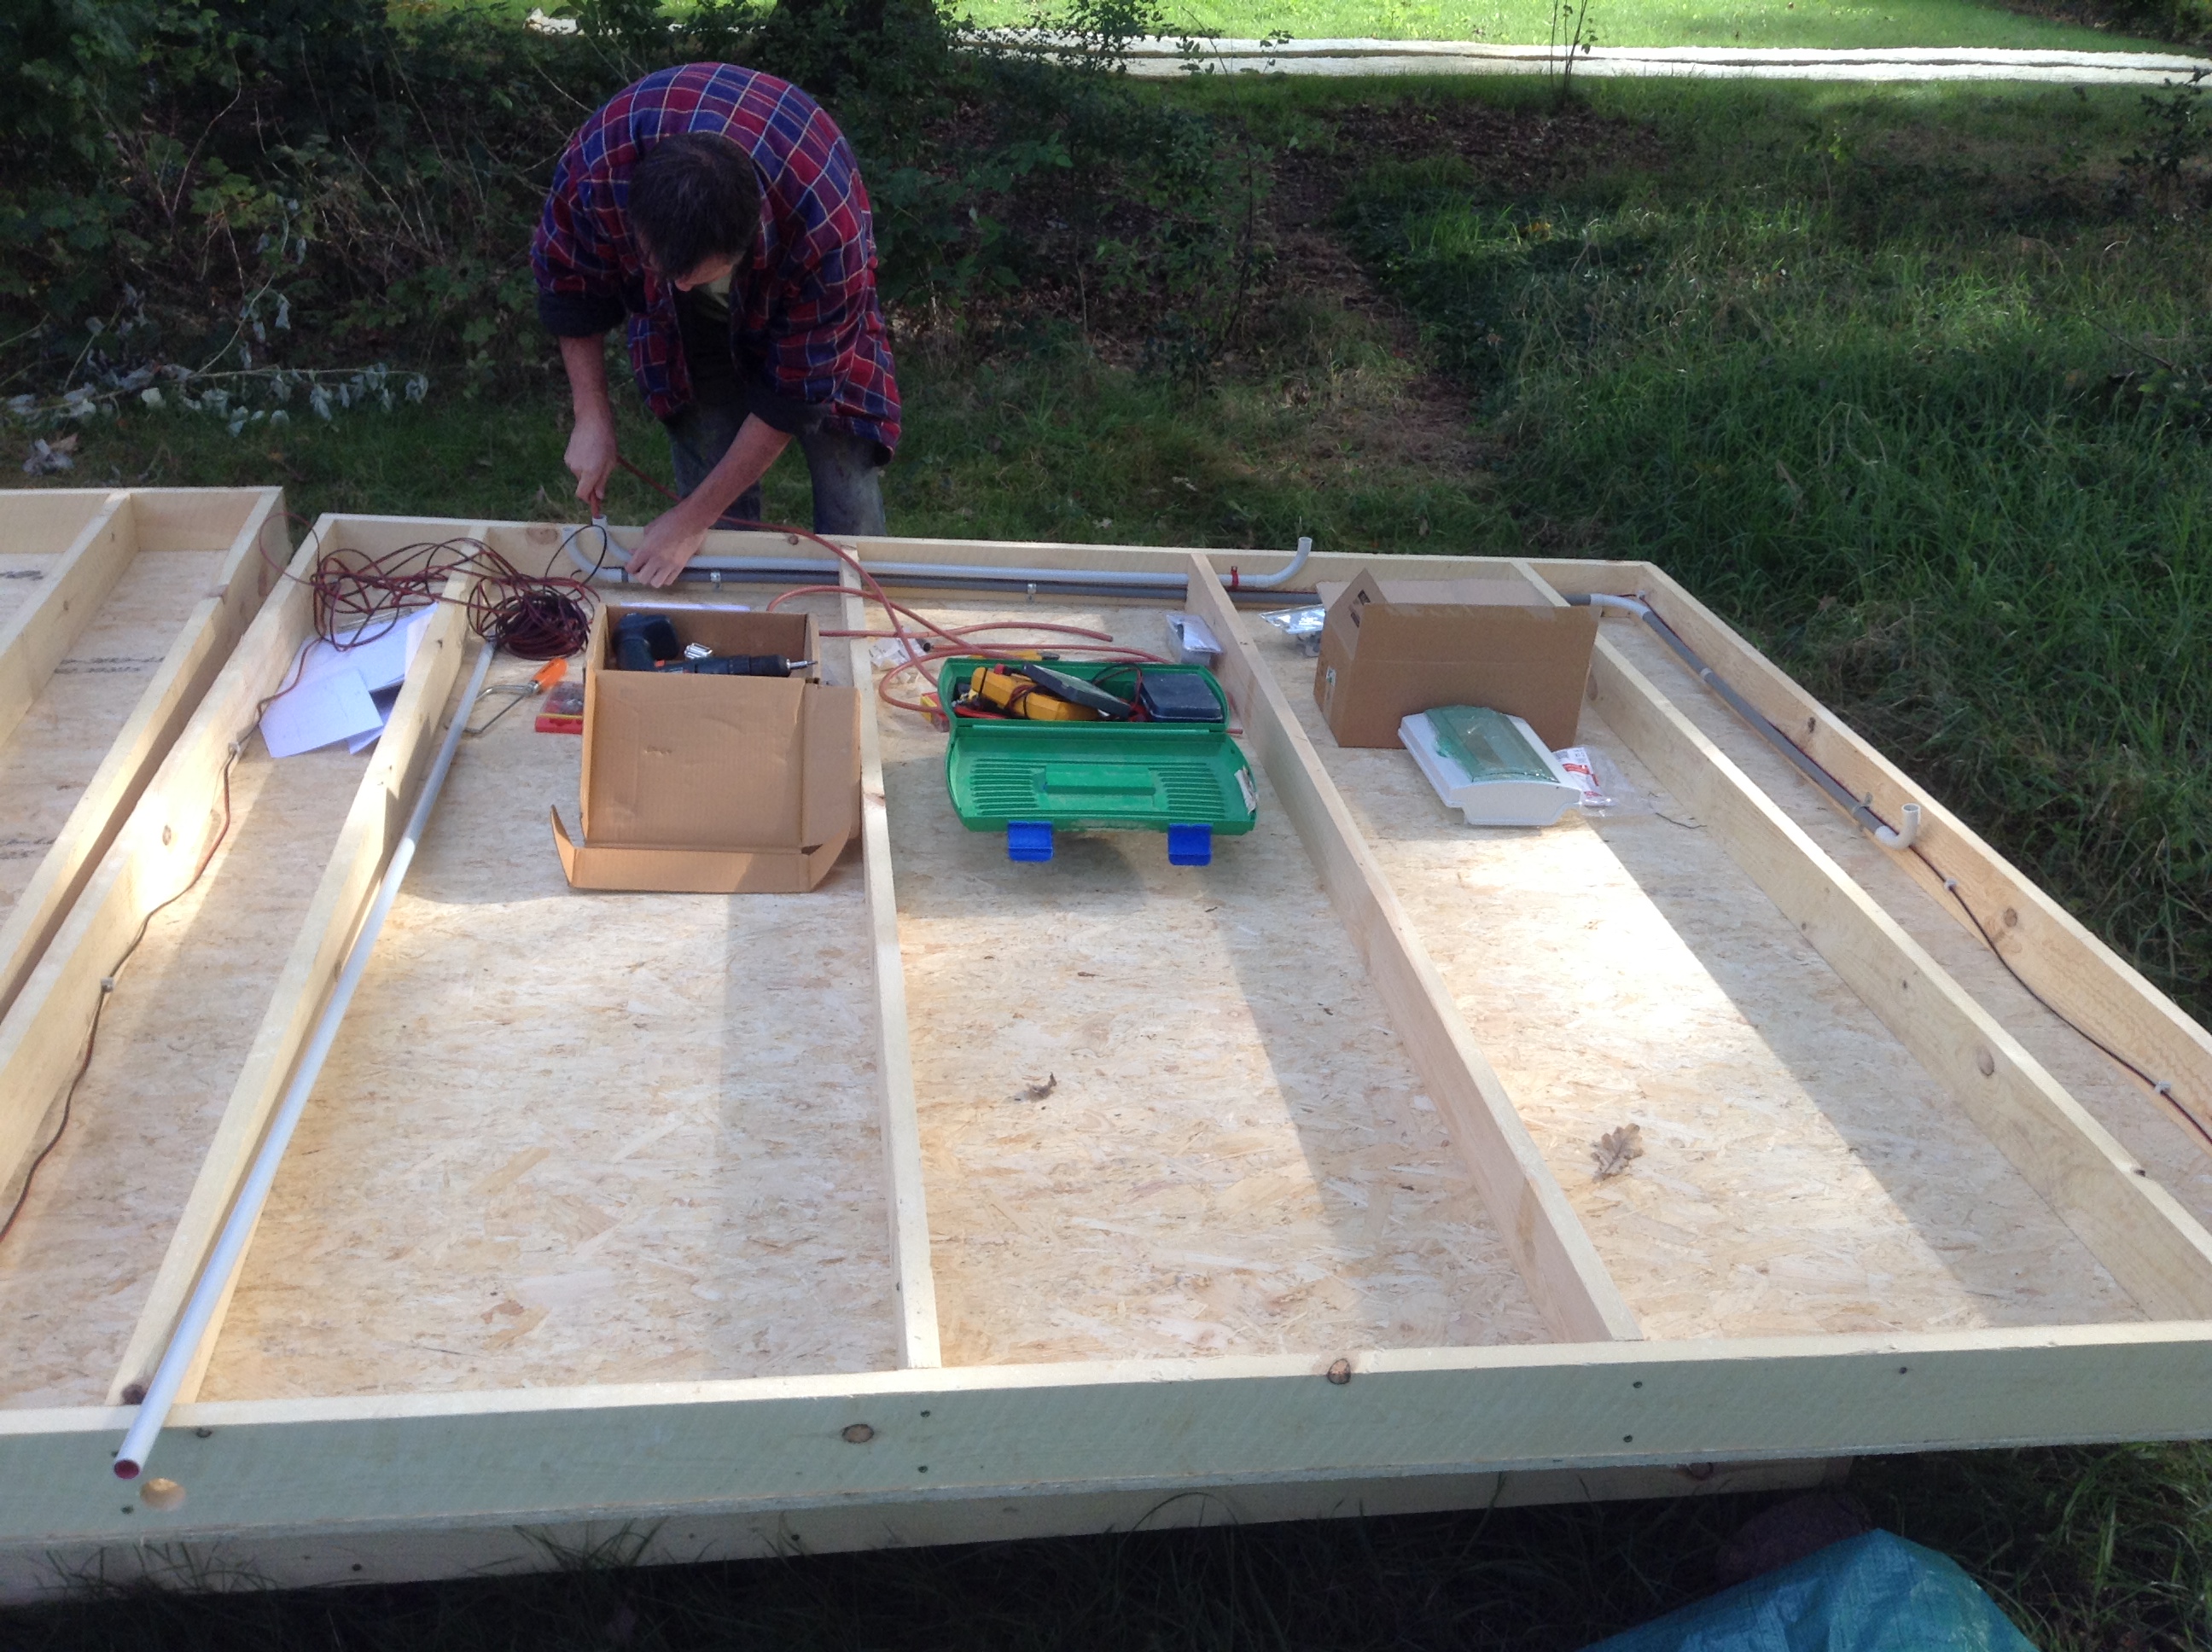
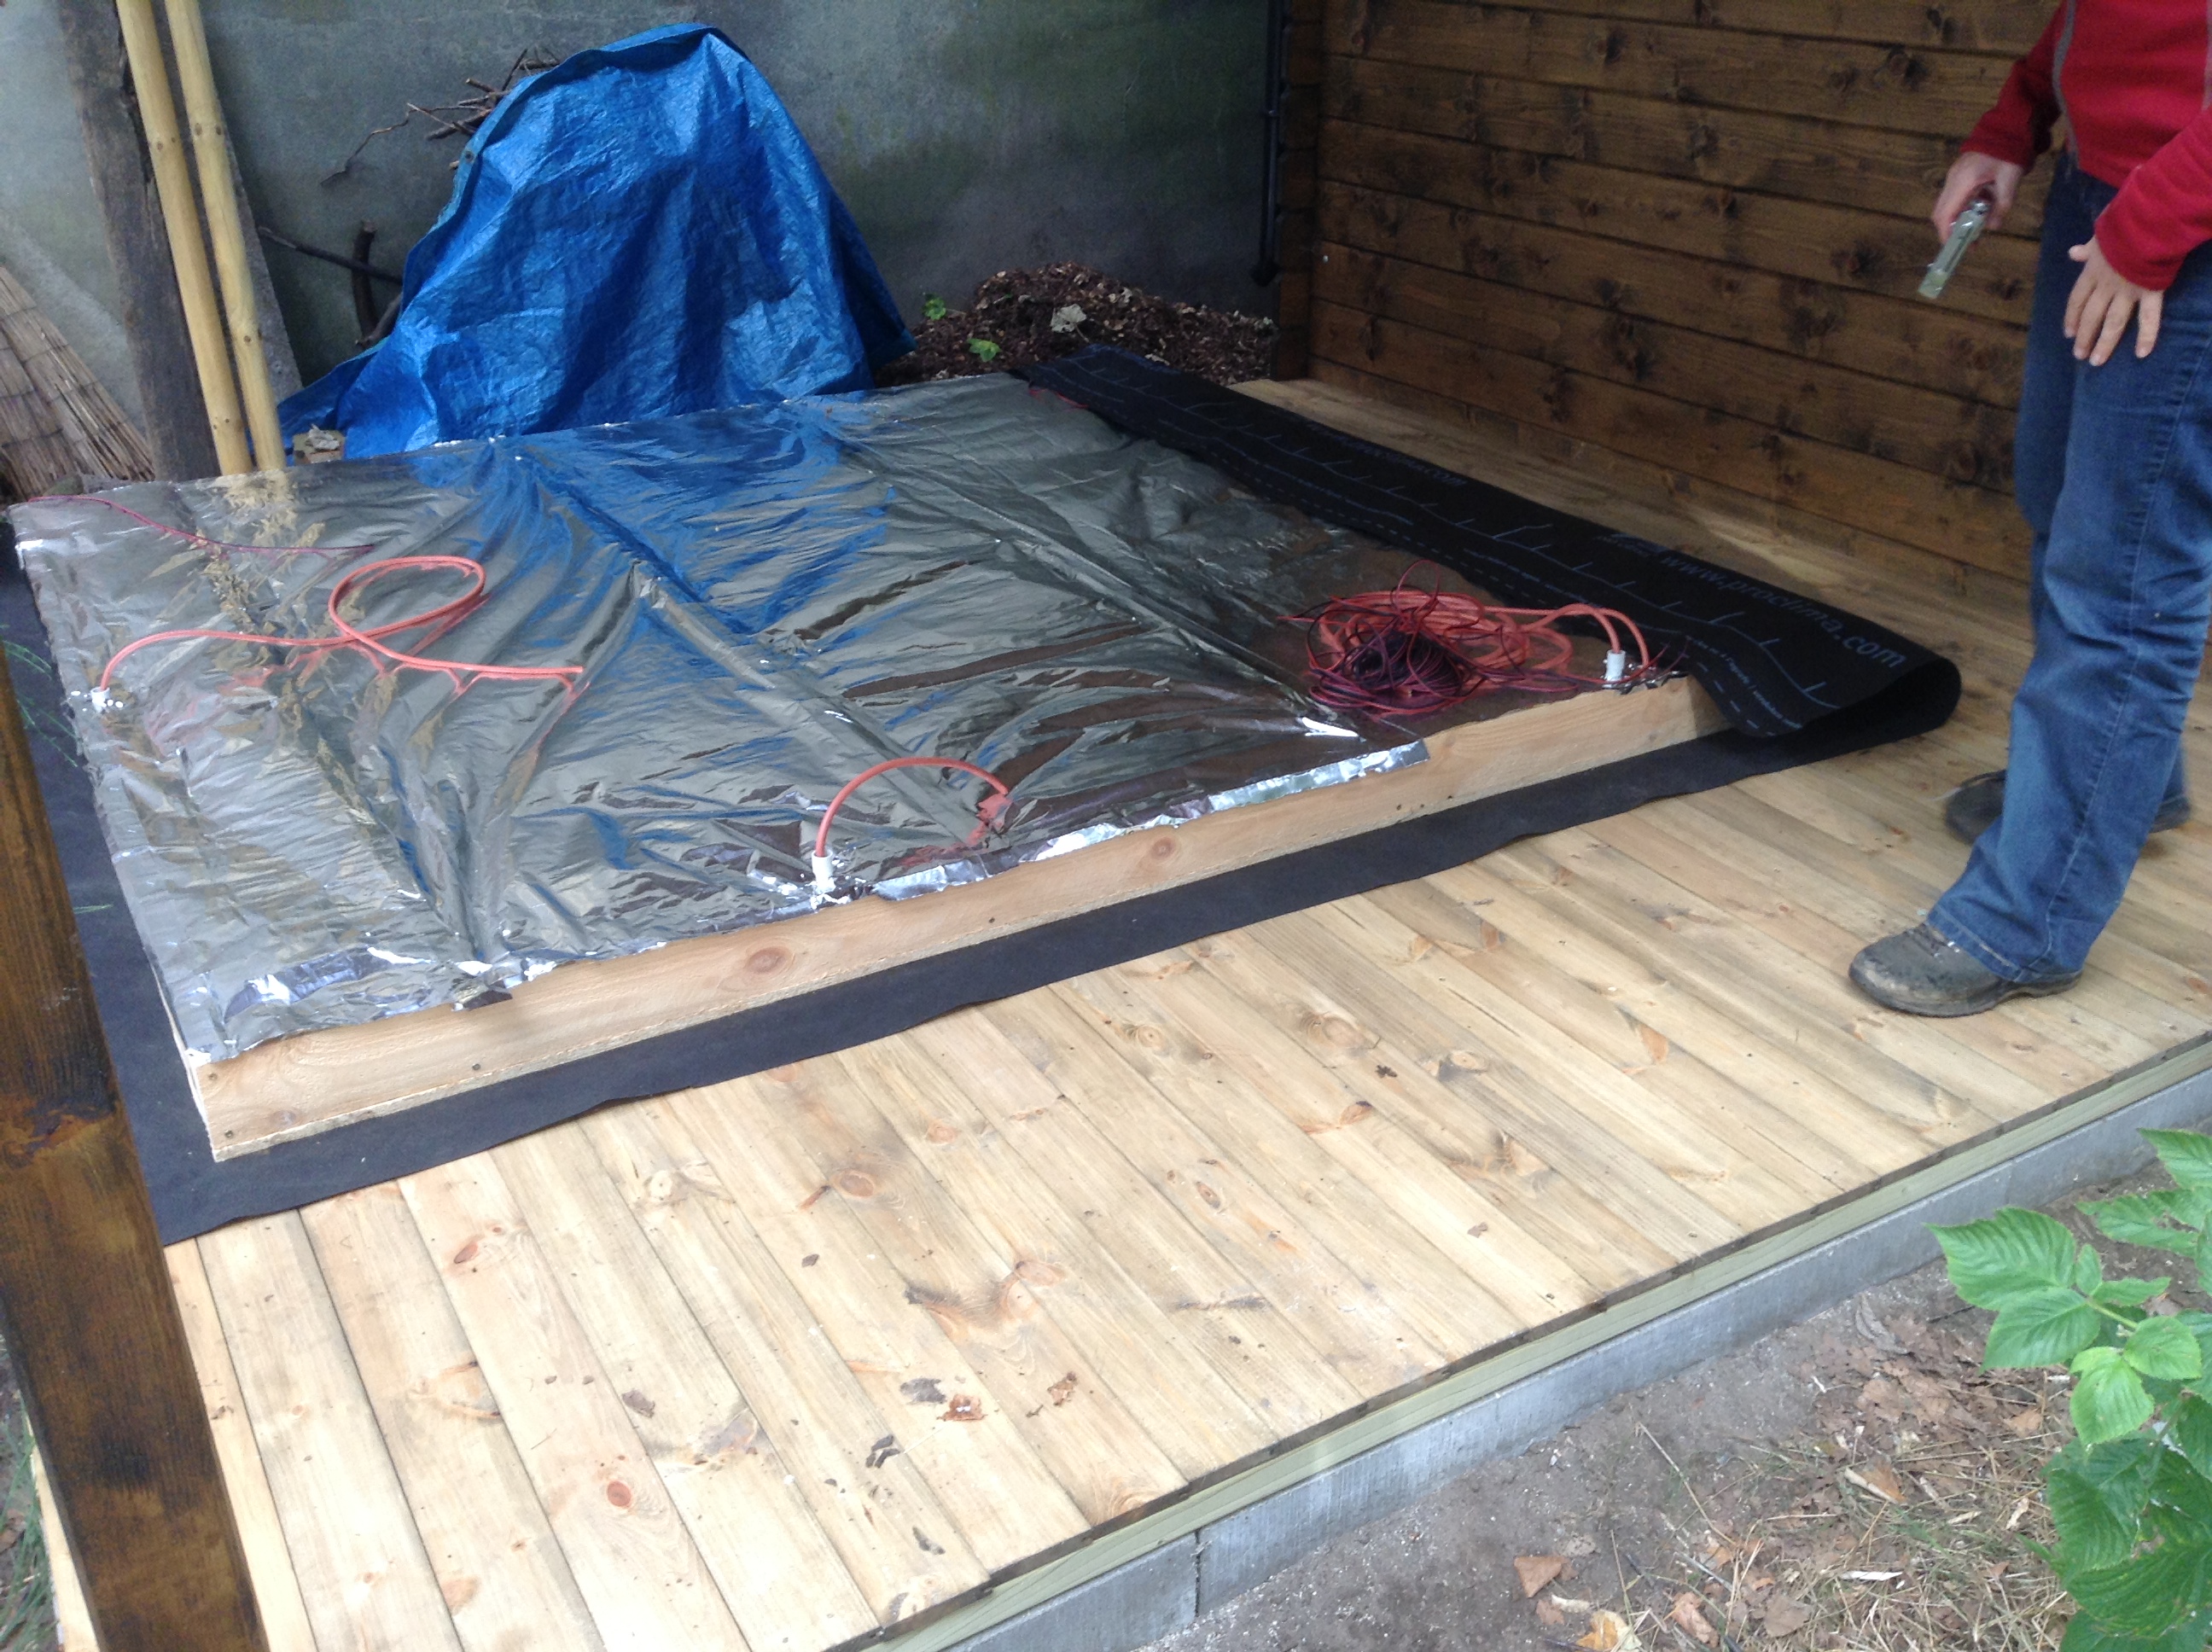
- In the workshop, full outfitting of the bottom and top skeletons with OSB plates, electrical tubing and wiring, and rockwool with reflective vapourshield. Also mounting of the vapour permeable breathable membrane on all wood sides.
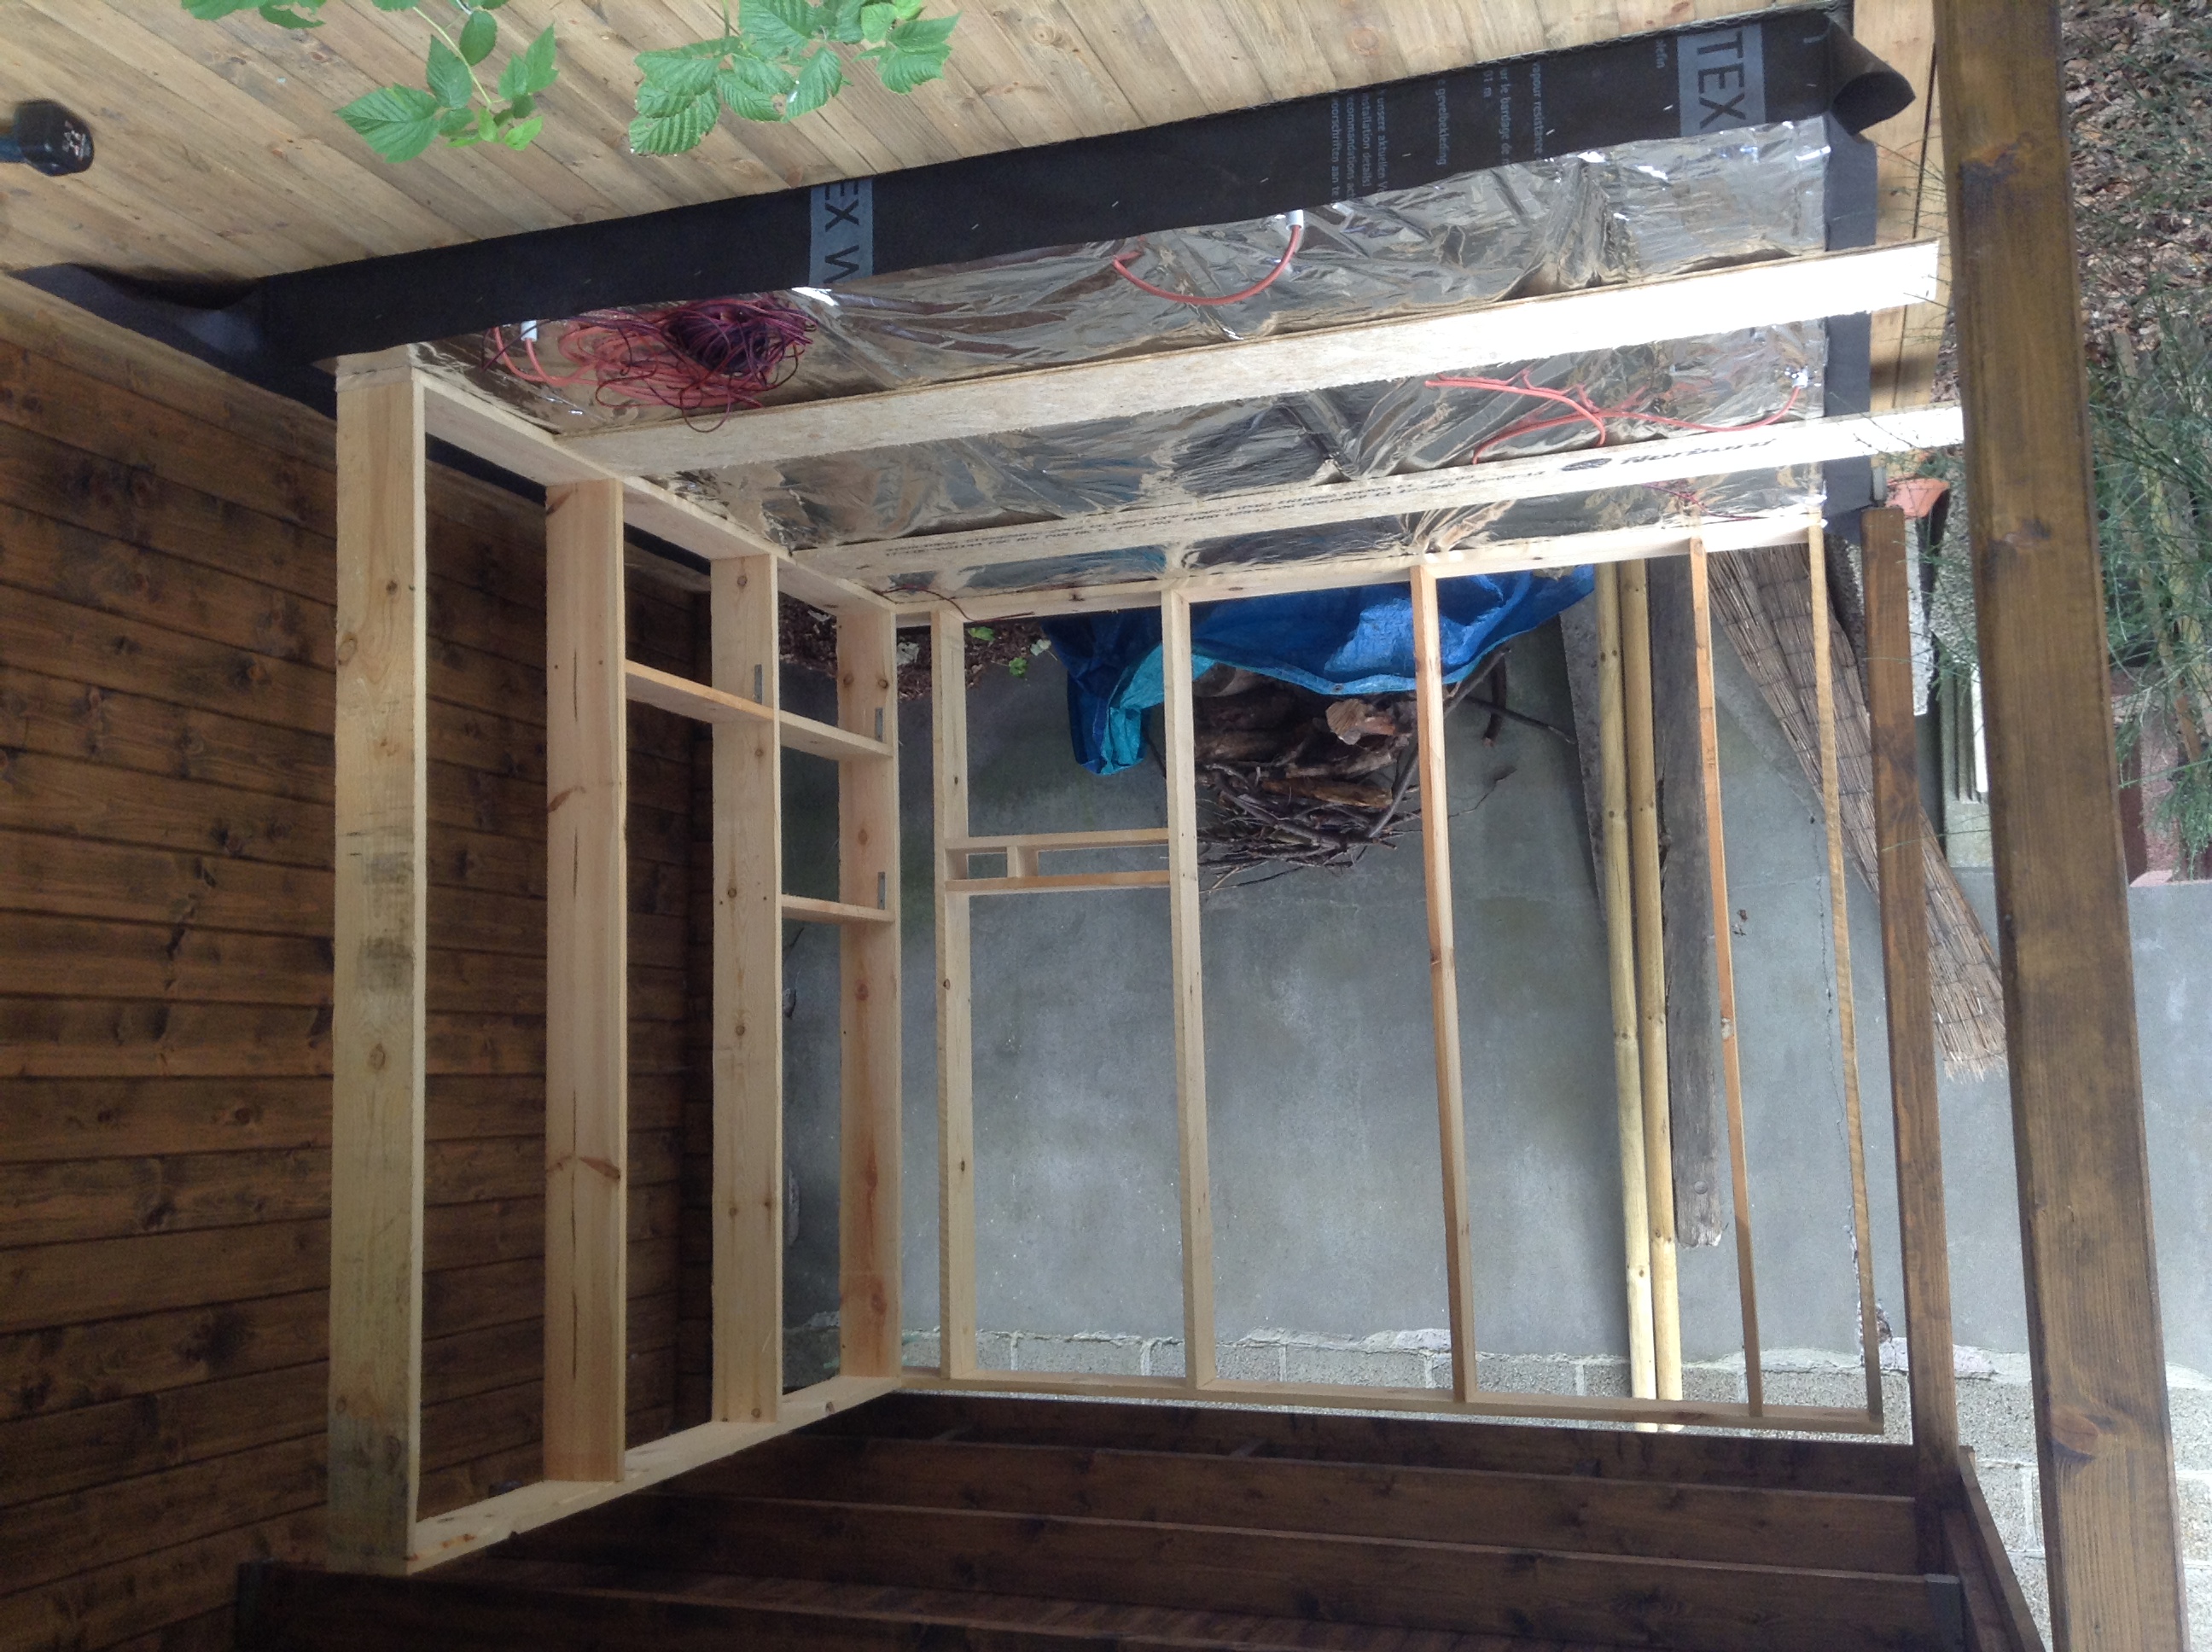
- Positioning of the bottom assembly onto the terrace.
- Installation of the skeletons of the side walls.
- Installation of the top assembly onto the side walls.
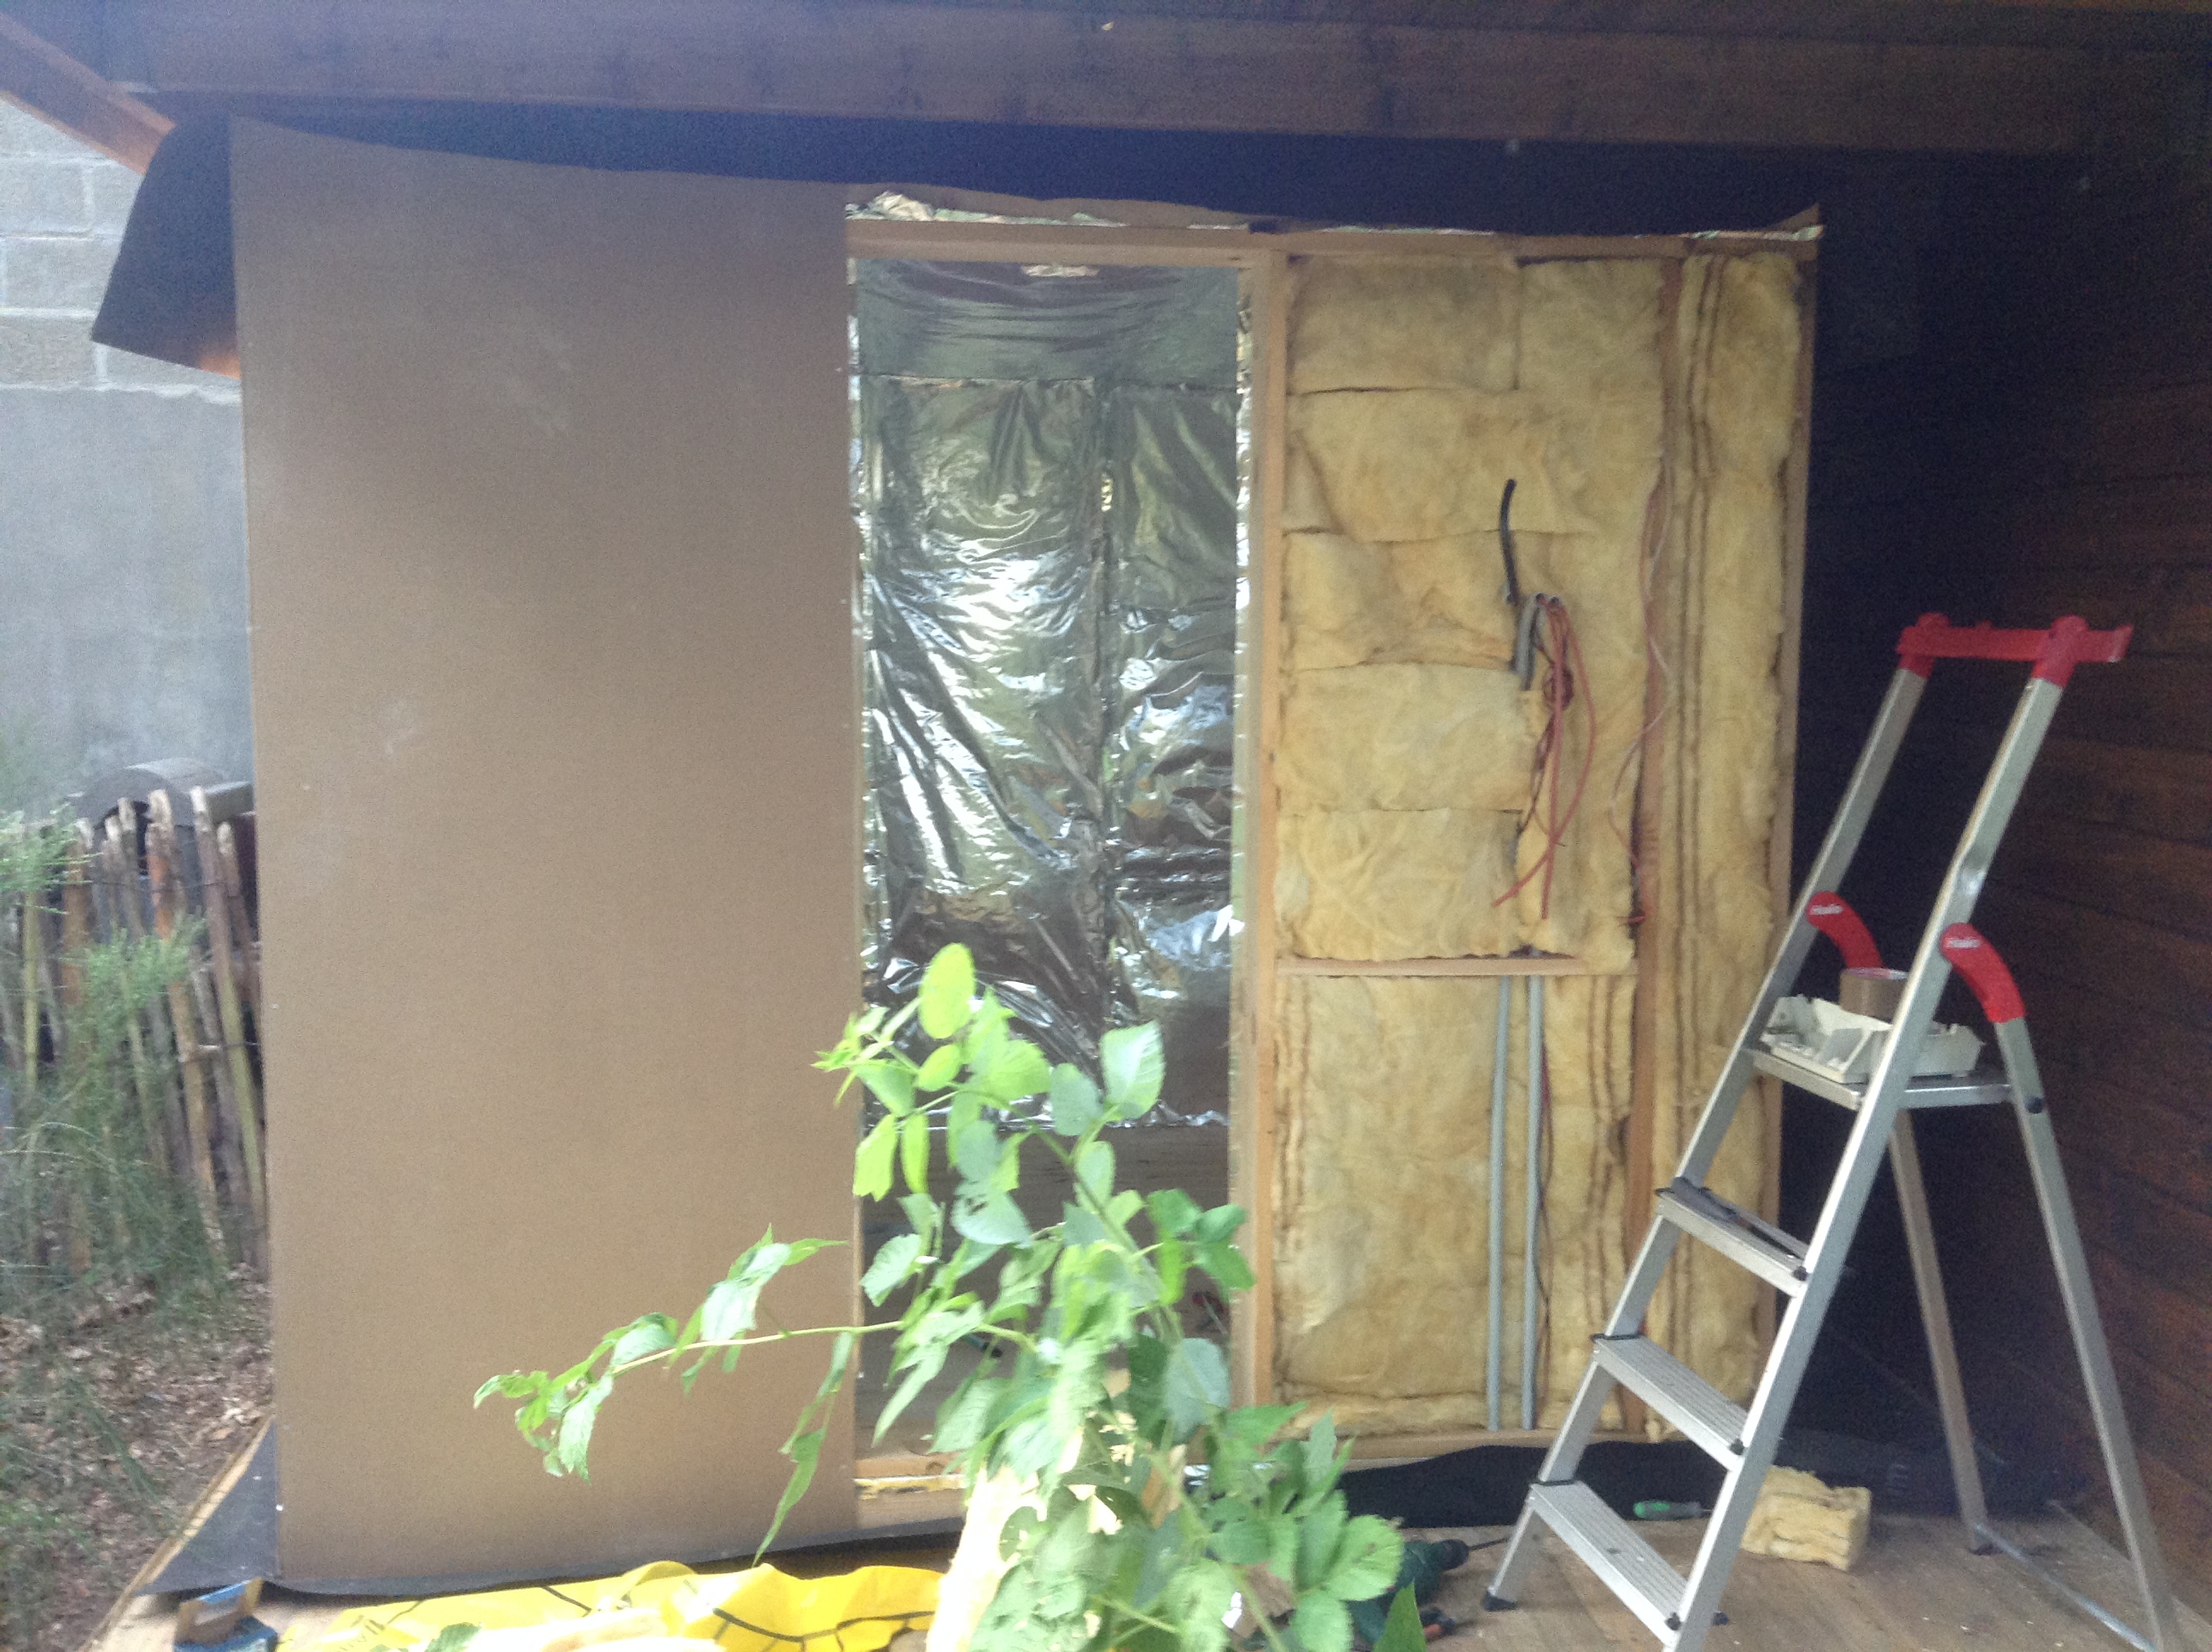
- Oufitting of the side walls with rockwool, making the vapourshield airtight with aluminium tape (to the extent possible).
- Installation of electricity tubing and wiring in the side walls.
- Closing the side walls with MDF plates, being mindful of the external connections that need to be made (to sauna controller and audio amplifier).
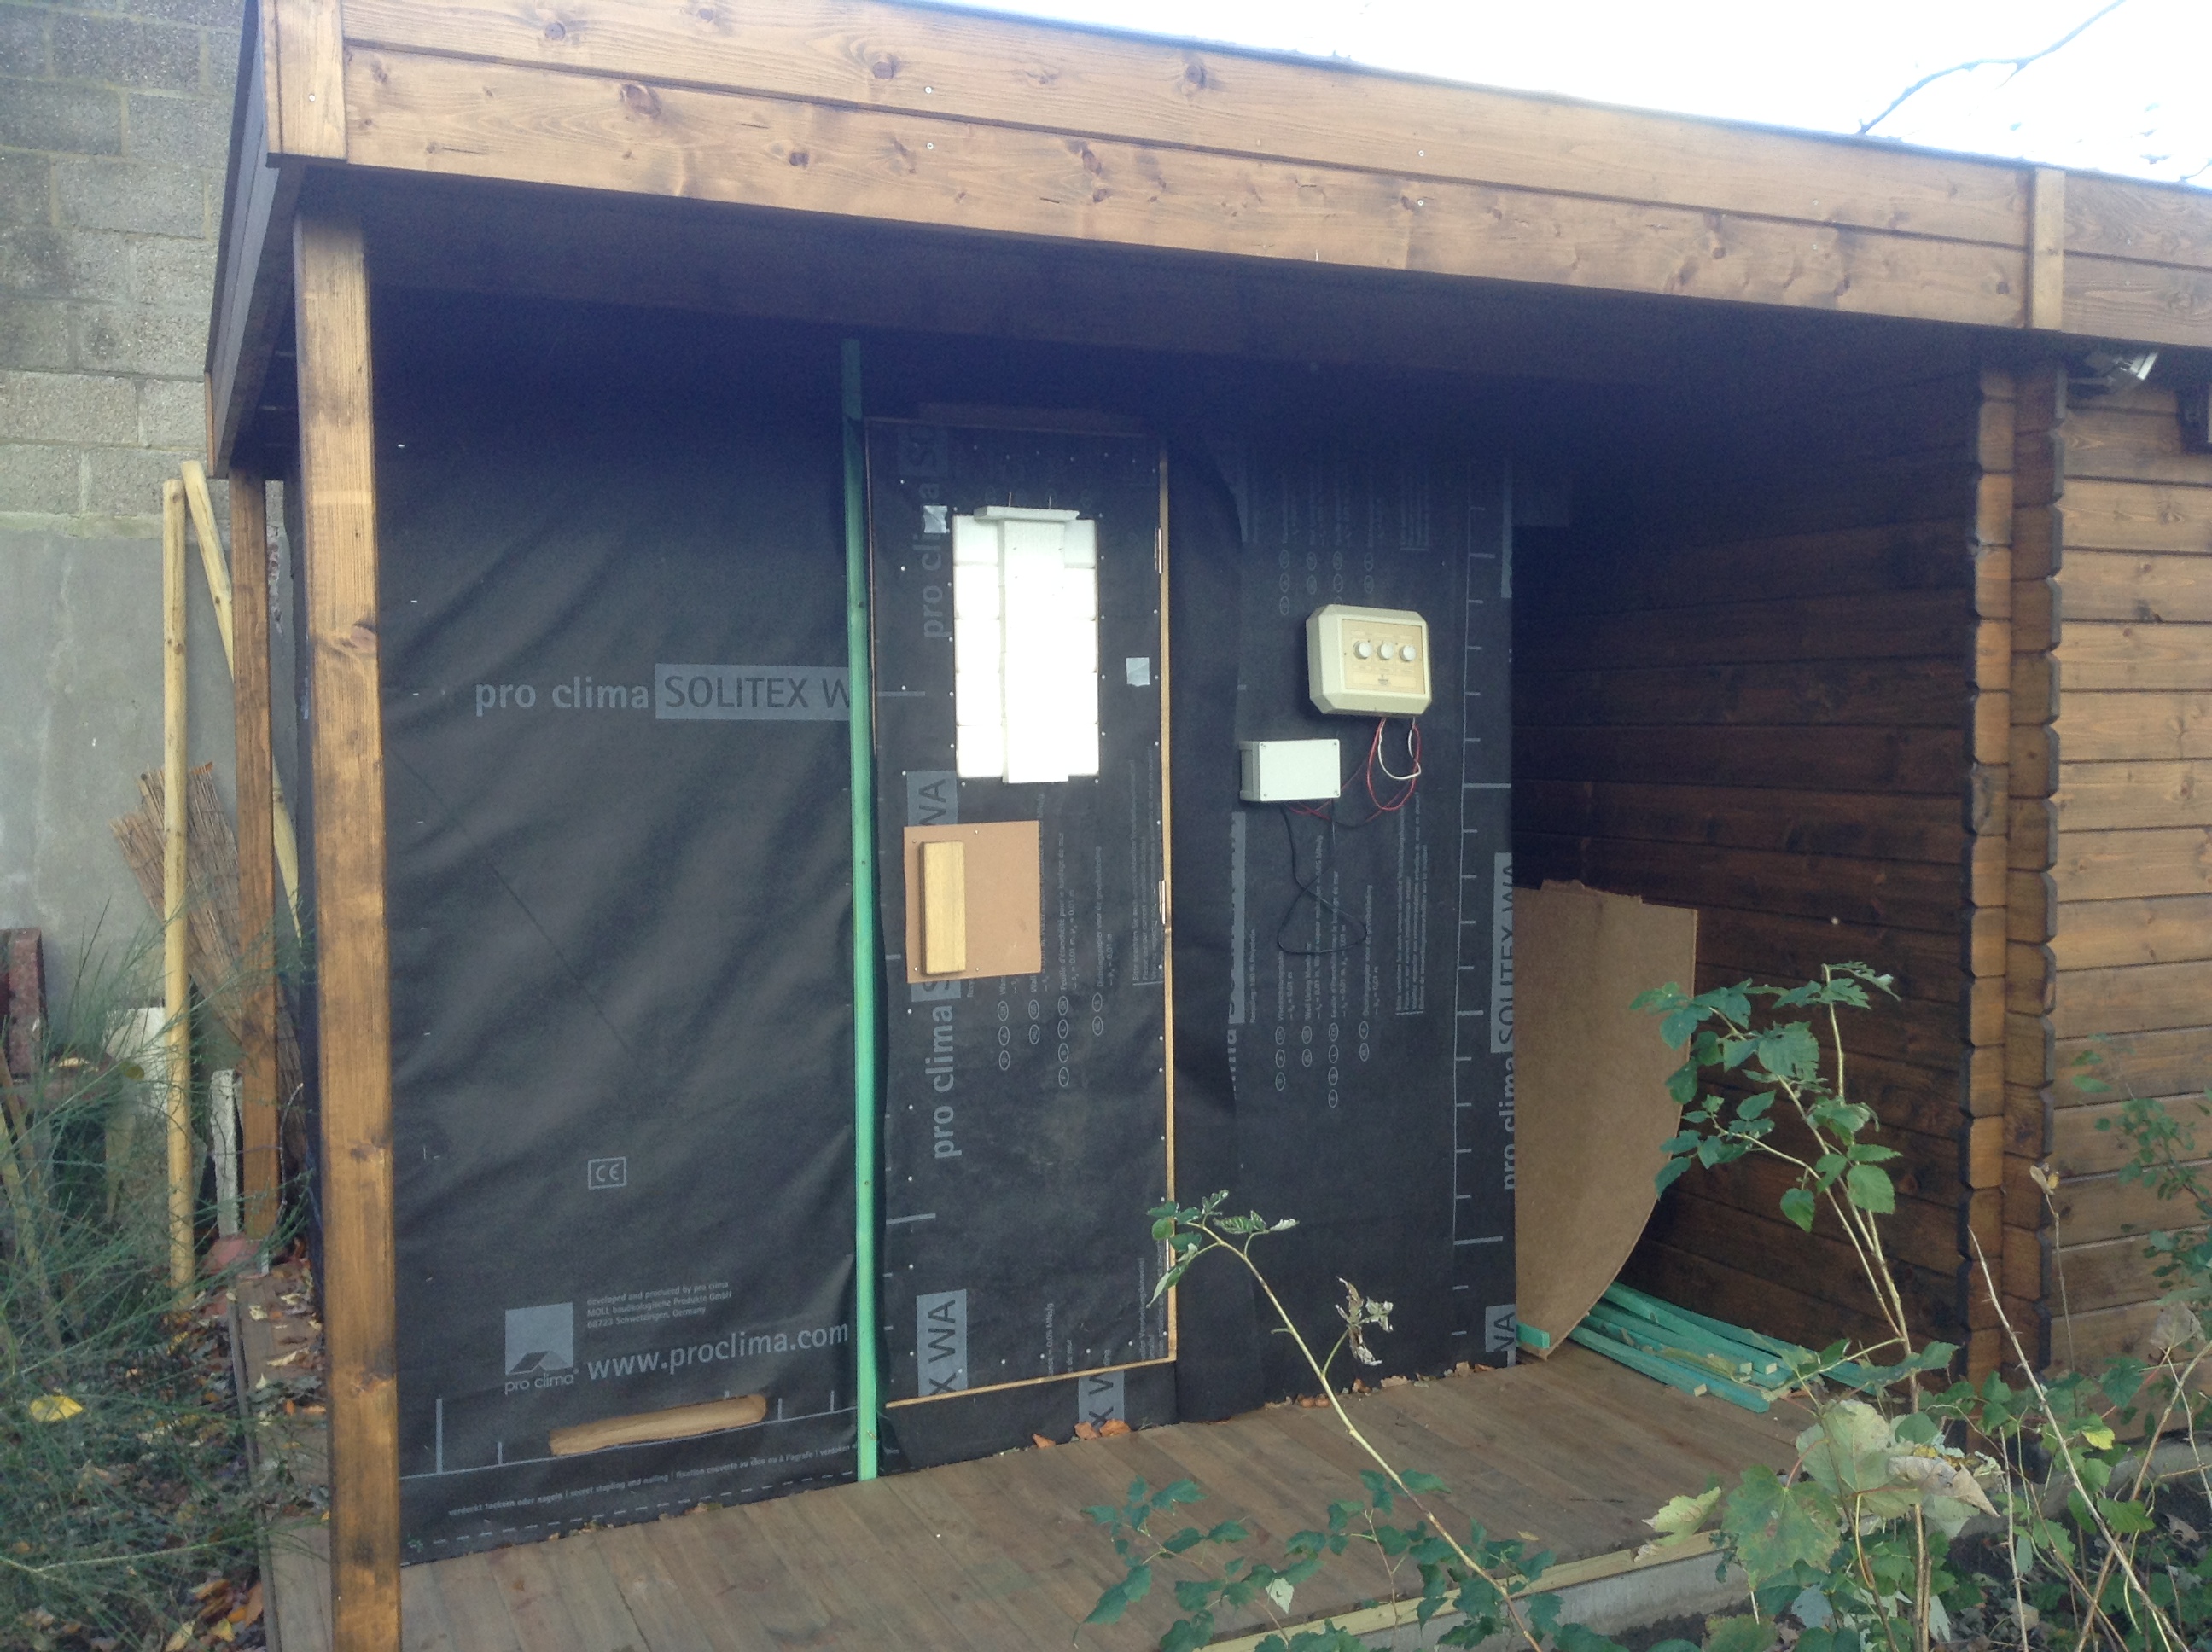
- Wrapping the vapour permeable breathable membrane around the side walls, and fully attaching it with staples.
- Installing the floor wood, as wel as the inner walls (nordic pine sauna-wood - attached with mounting clips), being mindful of the internal connections that need to be made (to light, heater, heat sensor and speakers).
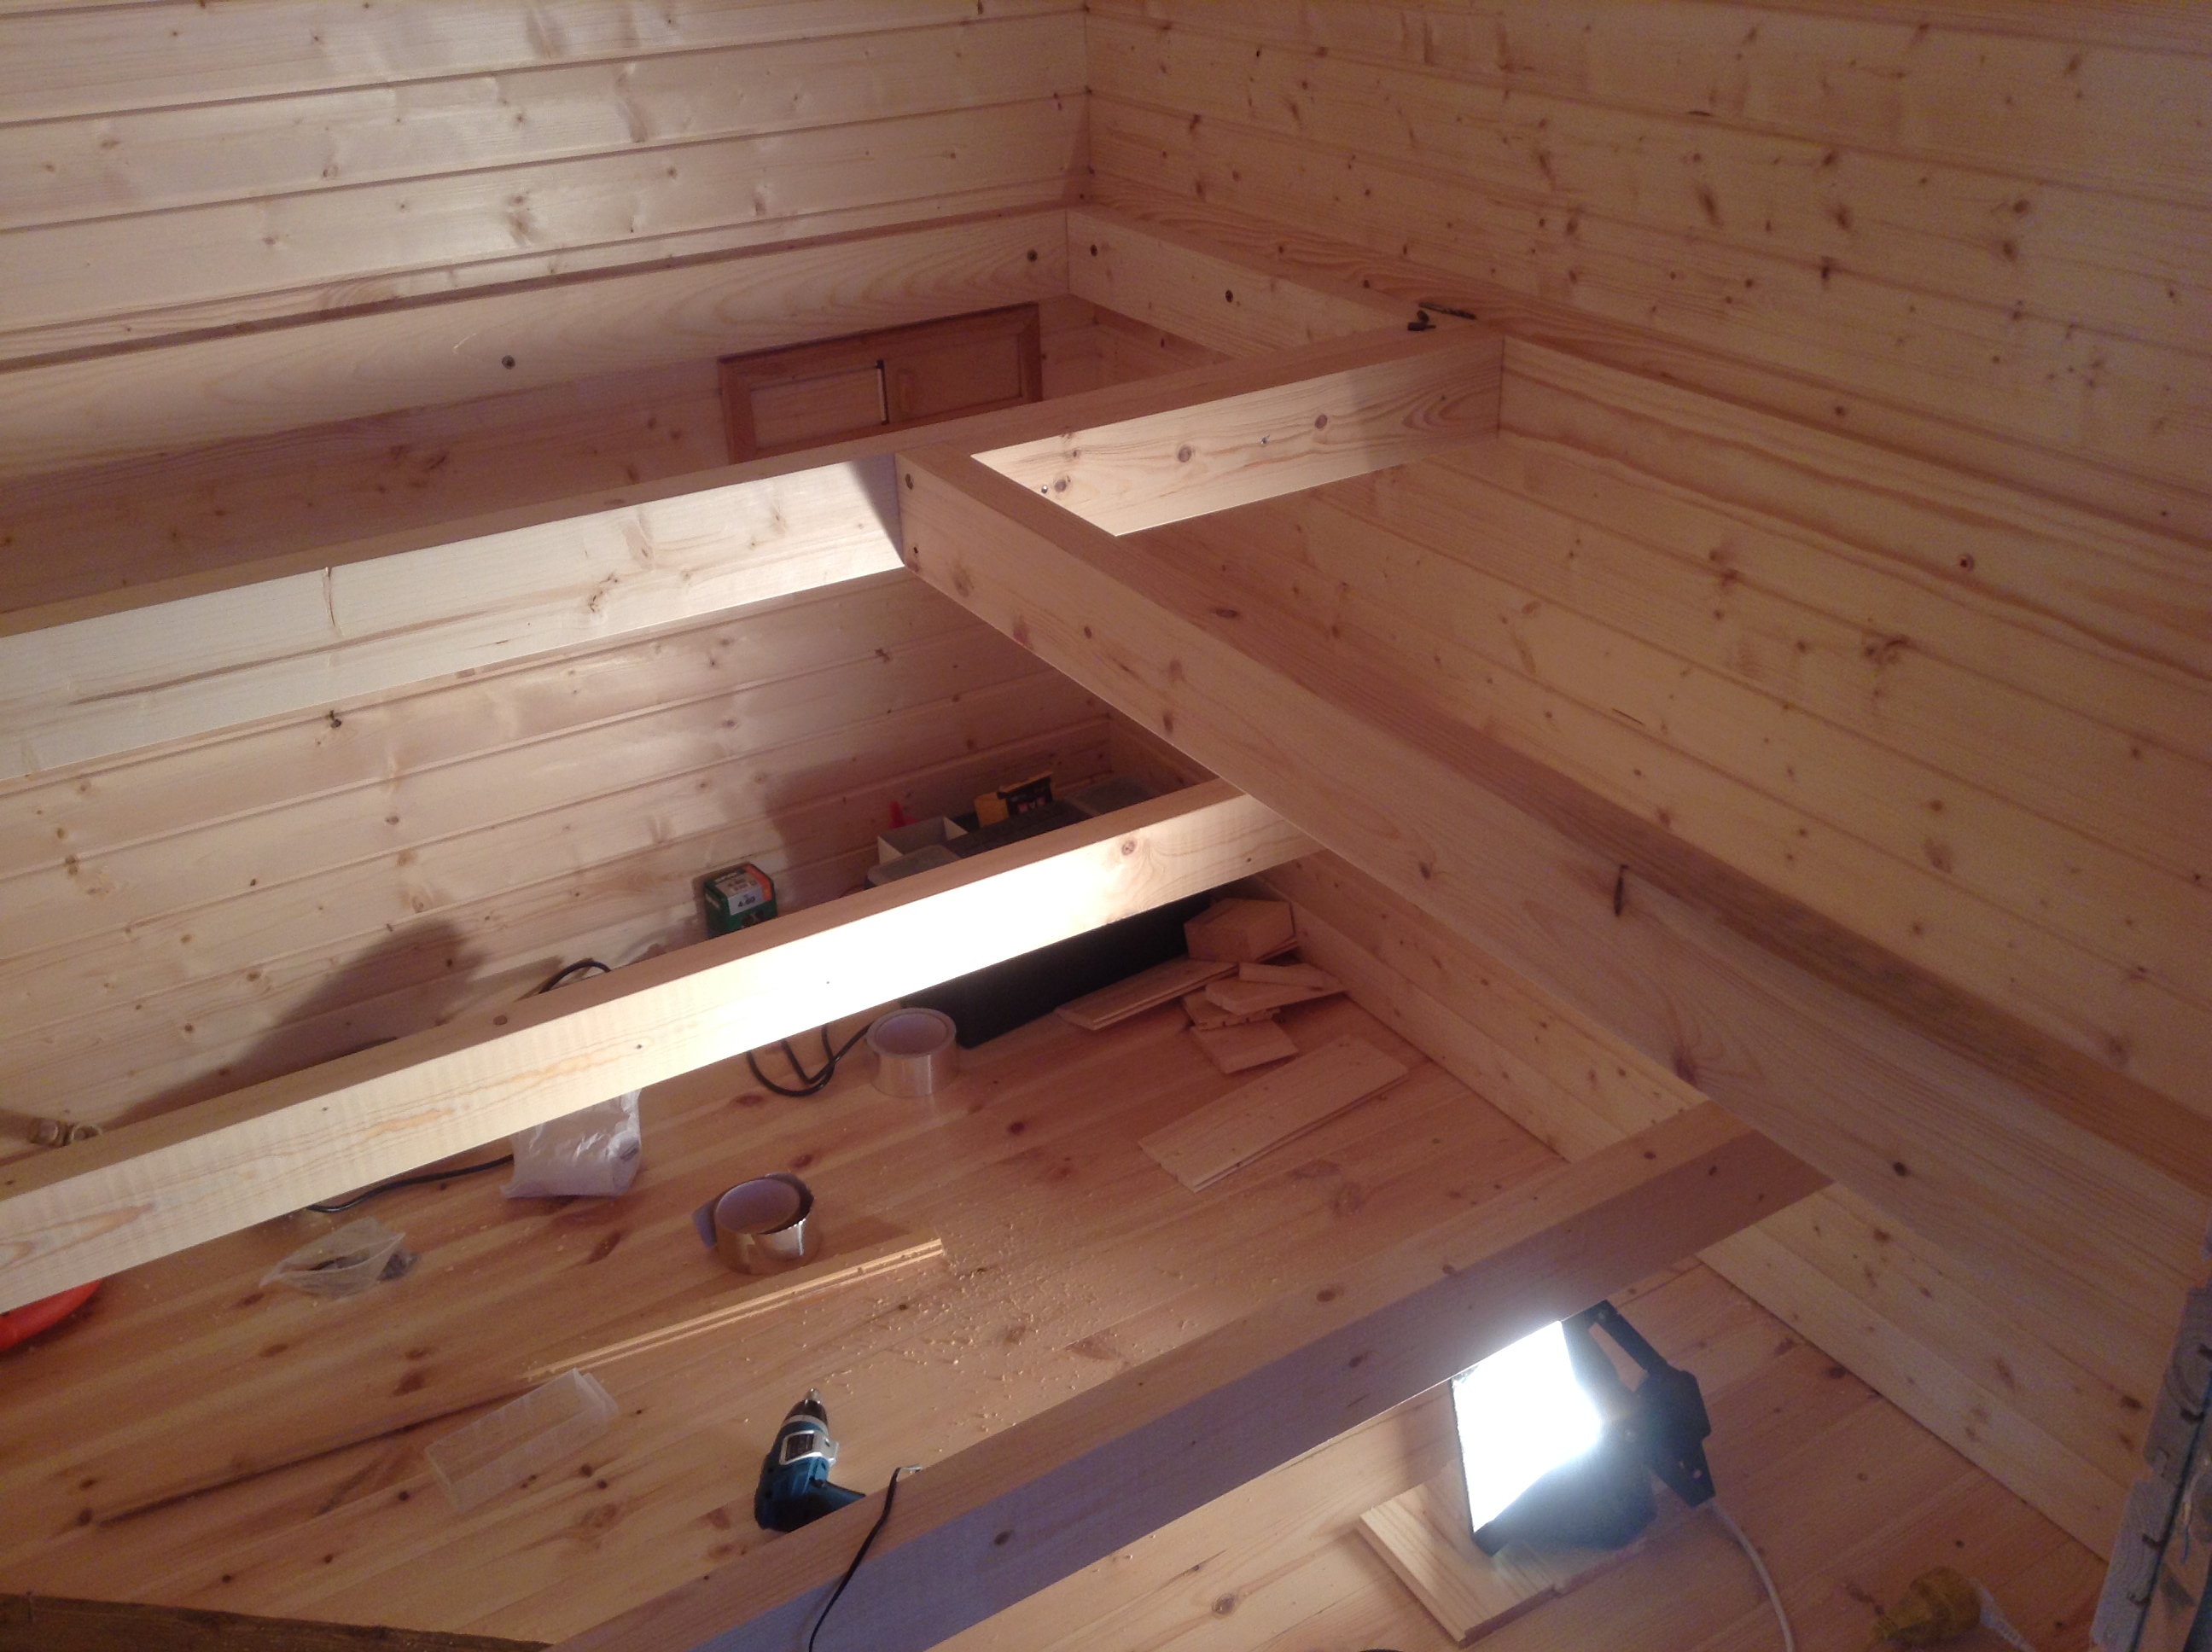
- Installing the skeletons for the benches.
- Installing the heater, sensor, and controller.
- Installing the abachi wood for the benches and backrests, and the heater protection.
- Installing the door (assembled in workshop).
- First heat for the sauna! :-)
- Installing the slating battens and the external wood finishing (treated with Xyladecor).
The walls are composed of the following layers (from inside to outside), totalling 21cm:
- Internal wood finishing, composed of 95mm x 14mm tongue-and-groove planks [NL: saunaschroten] (second choice nordic spruce, specially dried for use in sauna), attached with mounting clips [NL: profielhoutklemmen].
- Reflective vapourshield (integrated with the glasswool), finished with aluminium tape.
- 60cm wide 15cm thick glasswool (Isover) with integrated reflective vapourshield, carried by the wood skeleton.
- Thin MDF plates for covering the glasswool.
- Vapour permeable breathable membrane [NL: dampscherm] (Pro Clima SOLITEX WA).
- Air layer (slating battens as spacers [NL: panlatten]).
- External wood finishing, composed of second choice 170mm x 19mm tongue-and-groove planks [NL: schroten], treated for outdoor use with Xyladecor.
Just to be clear: these are the layers of the floor, from inside to outside: wooden floor, moist shield, rockwool, OSB, vapour breathing membrane, chicken wire, air, and then the concrete base of the garden shed. Same for the roof, where the vapour breathing membrane was mounted in tent shape under the roof of the garden shed, to deal with possible leakages in the garden shed roof.
The layer build-up is also visible in the building pictures.
The benches are based on solid beams anchored to the main skeleton structure using big screws. The benches are made of Abachi-wood. This is an excellent choice, but be careful when working that wood: it generates a very fine dust which gives headaches that last for days. Work outside, or with a good dust mask.
While 60cm width is enough for lying down, benches of 70cm are more comfortable. But for sitting down on a bench, 60cm is more comfortable than 70cm. This, and to limit the depth of the sauna, is why the lower bench extends 10cm under the top bench, and why the side bench is 60cm wide.
TBW
For 100 euro I bought a second hand 6 kW electric heater, a controller with sensor, a light, two headrests, a wooden bucket and a wooden spoon.
For a 6 kW heater (any heater above 4.5 kW), a three phase electricity installation is needed. Check what is needed to do this legally and safely at your place. I installed an underground EXVB 5G2.5mm2 cable in a red plastic tube at a depth of 60cm, which led to a separate fuse board with a 30mA differential fuse (sauna is a wet zone) and a 3-phase 16A overcurrent fuse. The cables that led power into the sauna (for the heater and the light) was a SIHF cable given the heat endured in a sauna.
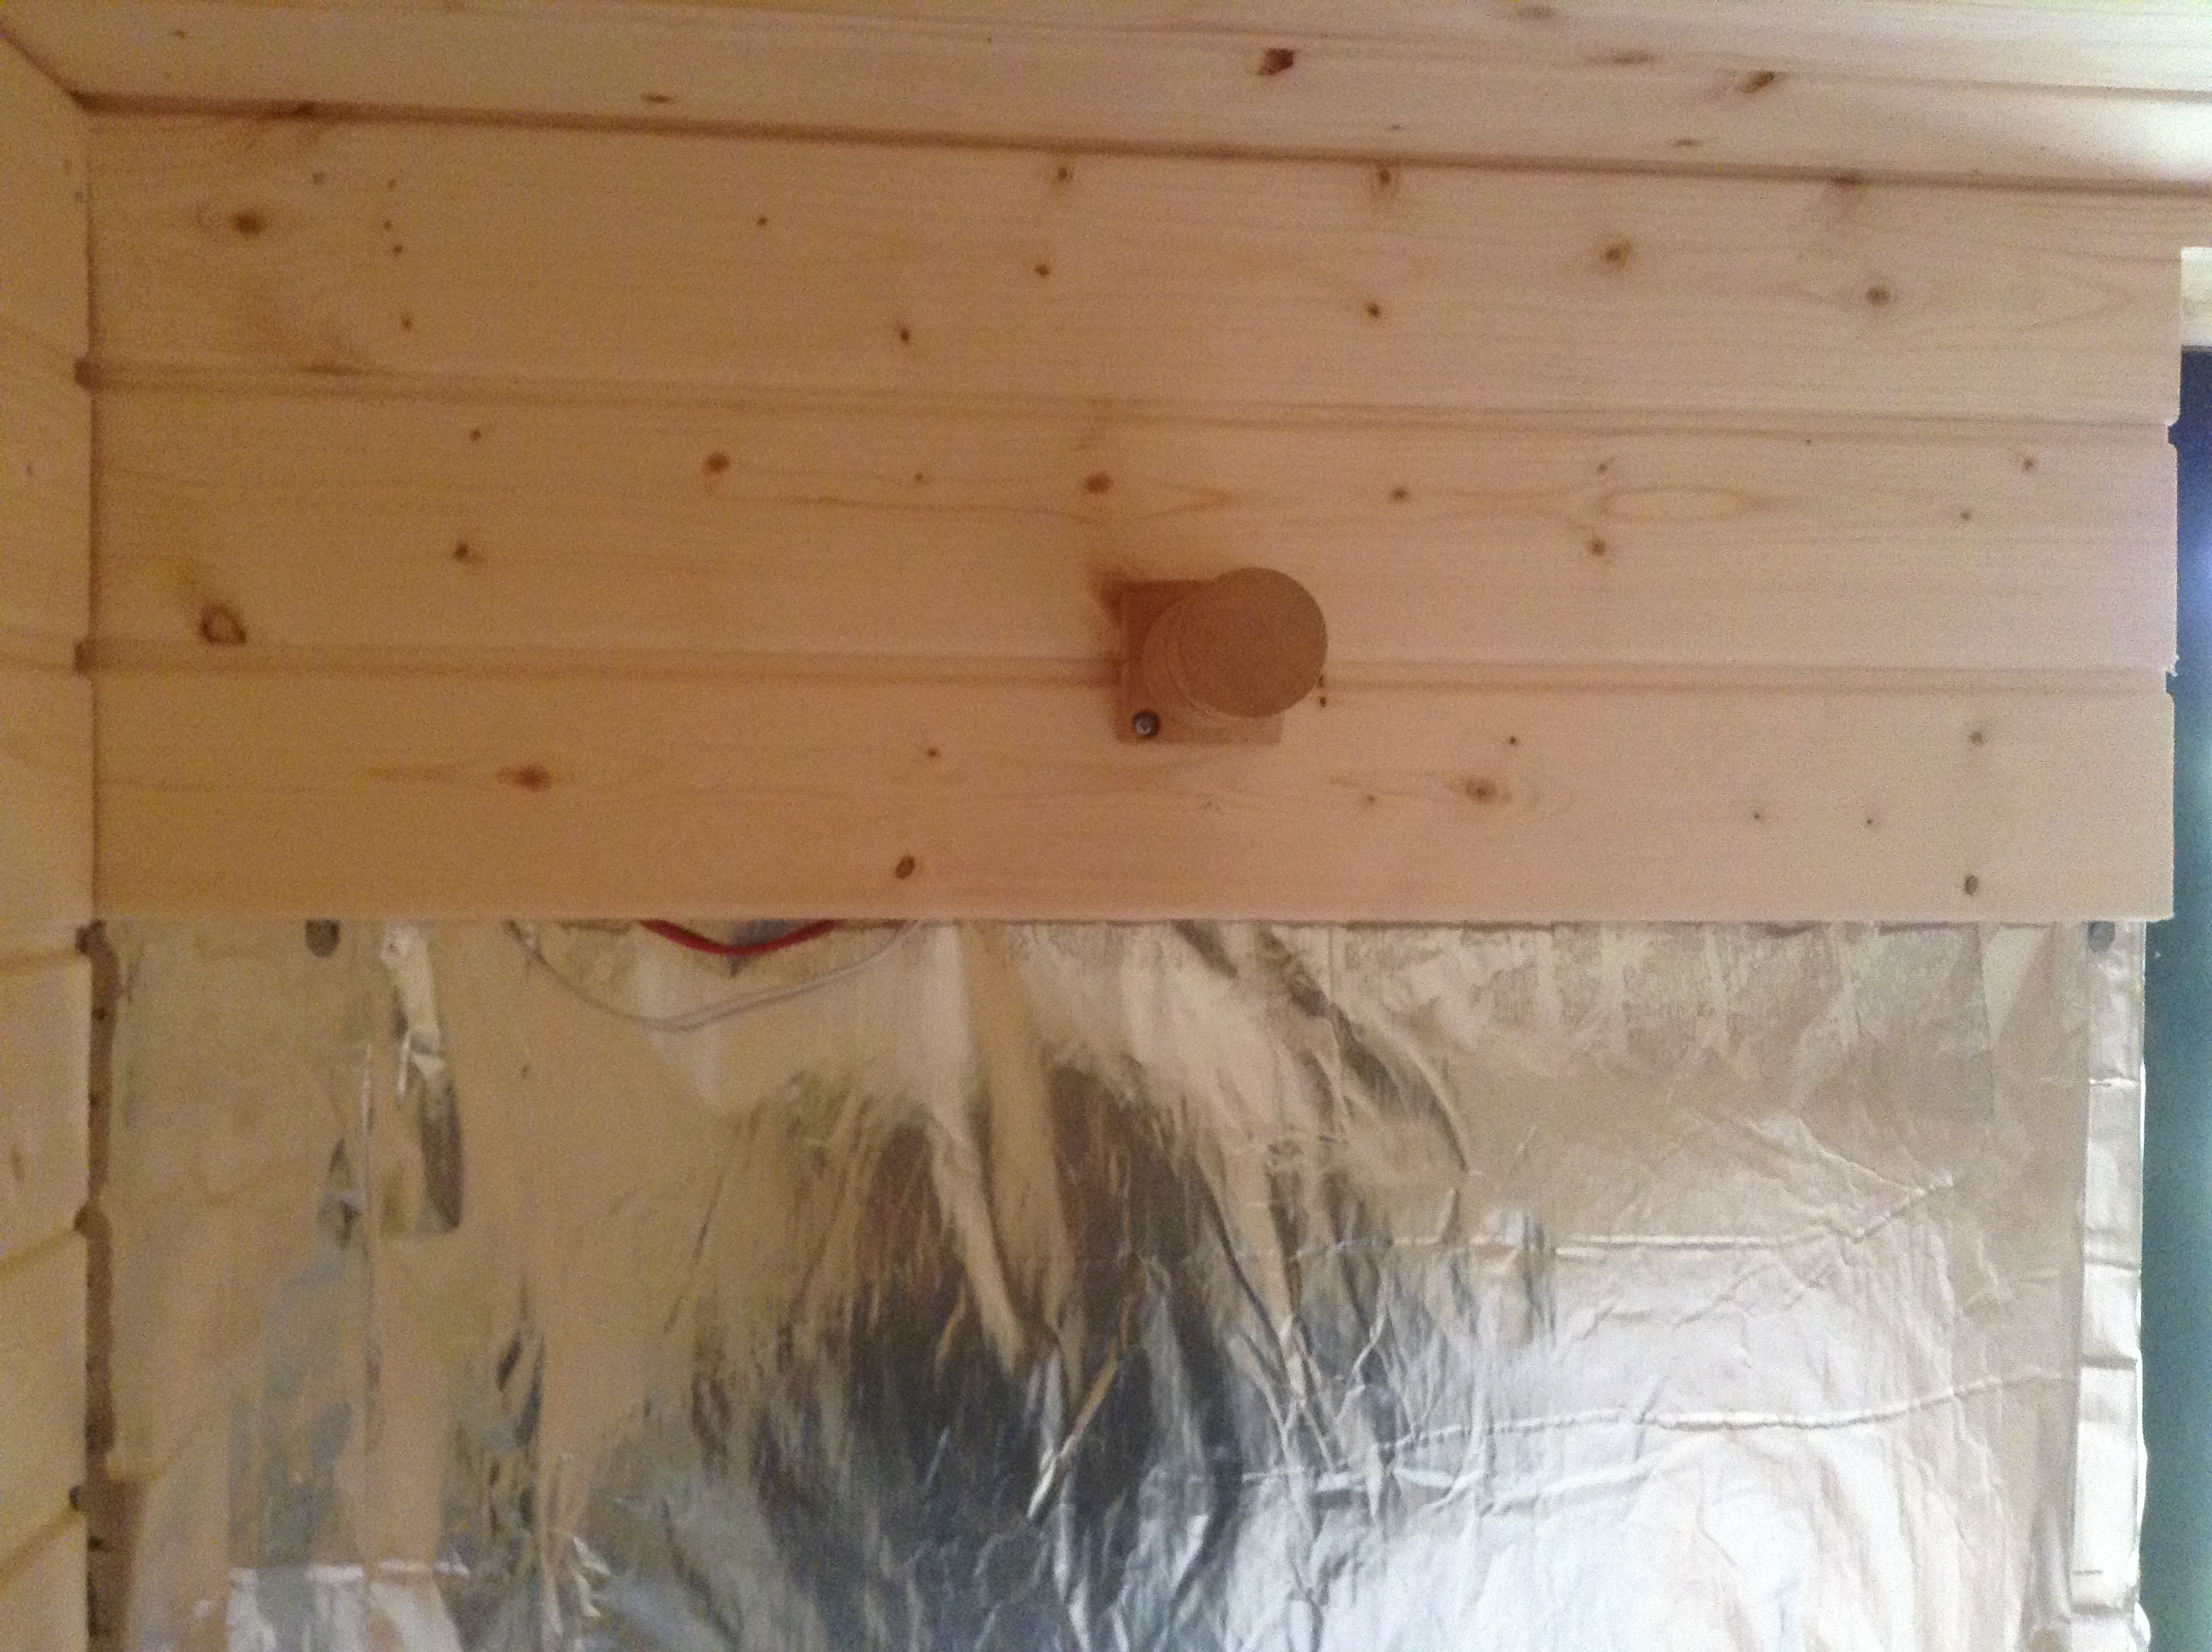
Be sure to include ventilation. Foresee a wide slit underneath the heater for air input, and an exit halfway the opposite wall.
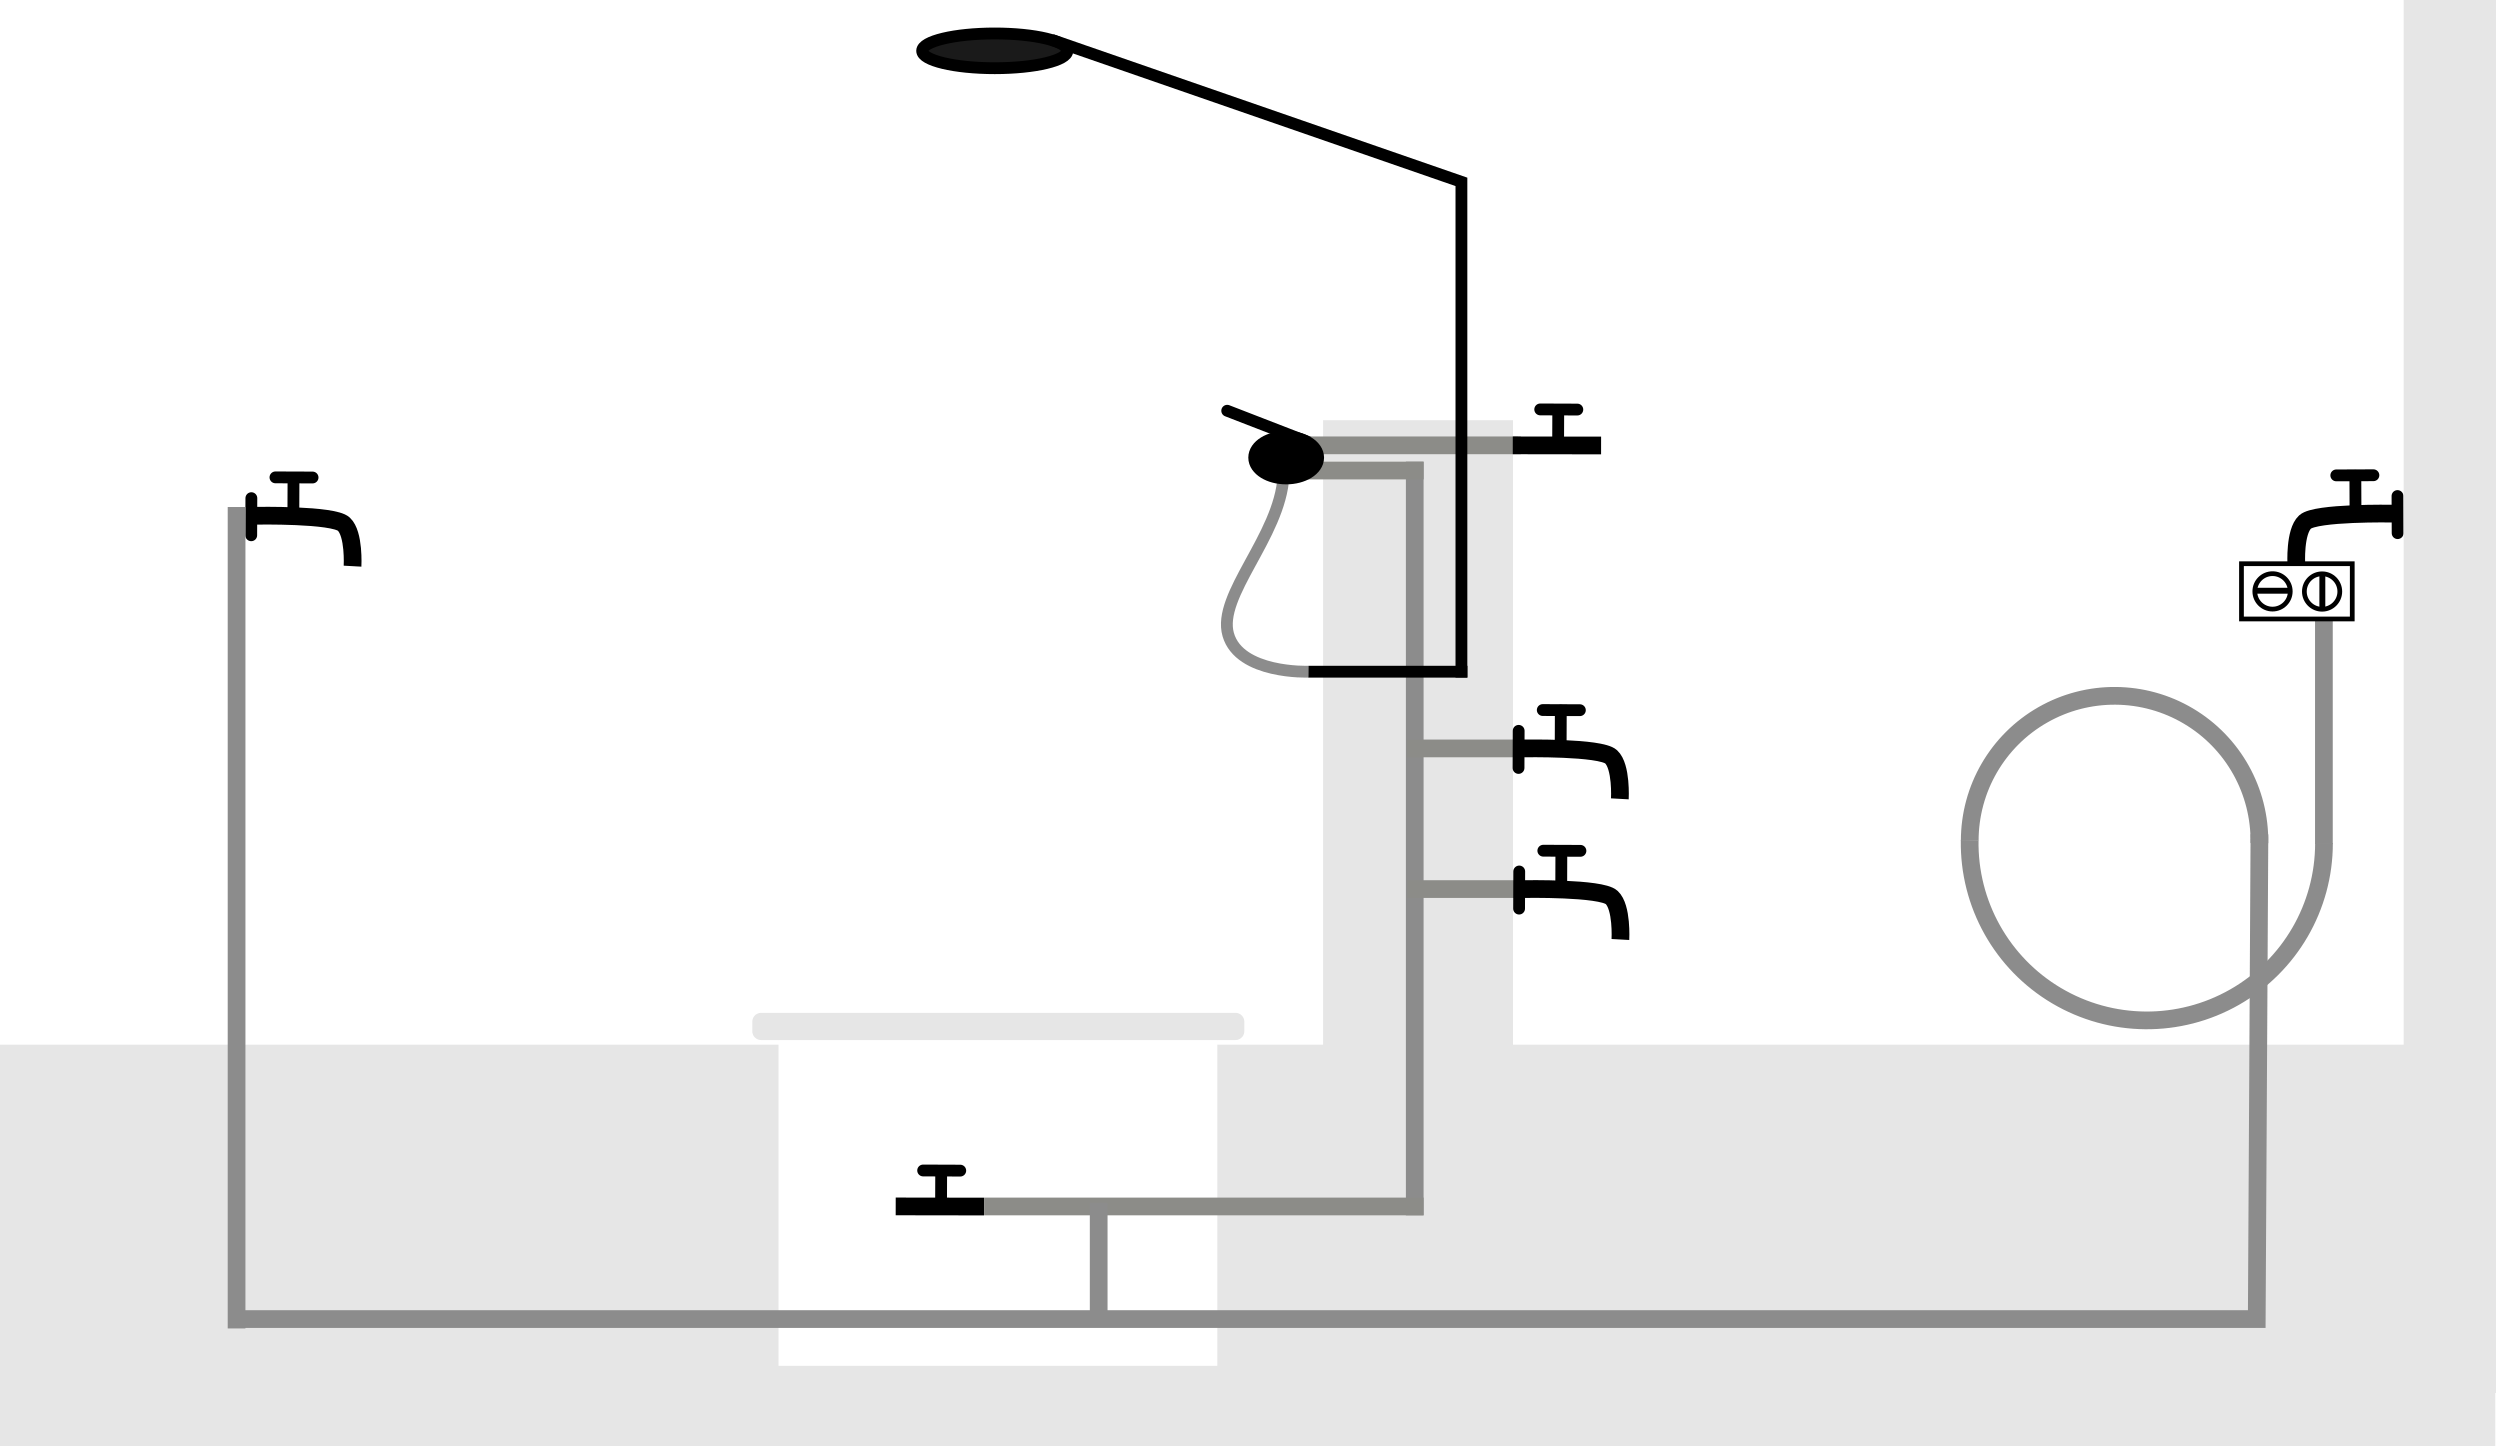
Given the absence of a sewer connection, the water needs to infiltrate into the ground. Also, I wanted to be able to easily empty or lower the levels in the water pipes in and above the ground in case of frost. Finally, I wanted to have the possibility for having sun-heated water. All this ended up in a way too complex set of pipes and valves (as shown below), but it works!
The sauna is comfortable for 2-3 people lying down, and can fit up to 6-7 people sitting.
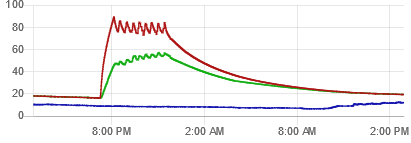
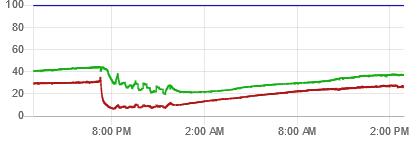
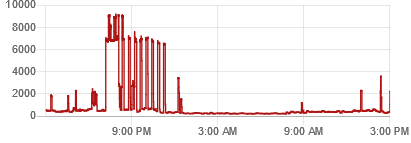
Heating at 6 kW takes about 45-60 minutes, after which the heater duty cycle is around 50%. An example profile is shown below.
Power consumption profile (W) (on top of other domestic use)
I installed old speakers at the bottom rear corners (coolest places), and outside I installed a watertight box with a car amplifier inside. This way, I can connect an audio source with a 3.5mm stereo plug, and play music inside.
In an attempt to keep humidity as low as possible (not sure that it makes a real difference) I added an ESP8266-based controller, comparing internal and external absolute humidity (with DTH-22 sensors), and starting fans when the outside absolute humidity is lower. In practice, this ventilation is only active when the sauna is heated. Nice side effect is that I have temperature and humidity logging over MQTT, which I can monitor with Home Assistant. The system can also warn me on my phone when the sauna is hot.
I also attempted to have a "bio-sauna" effect by using a WiFi-controlled RGB LED-bulb, with colour settings controlled by the ESP8266. This worked well in development (even have a nice mode with the bulb colour going from blue to red while the sauna is heating), but in practice the WiFi connection of the bulb is unstable when the sauna temperature is high, making a proper control impossible.
- If room is available, increase the isolation thickness everywhere to 20cm.
- I would make the sauna slightly wider, to avoid legs colliding when 2 people are lying down on the top benches.
- The side top bench is now 60cm wide, but 70cm would be even more comfortable.
- The wooden door is nice, but throughout seasons it needs retuning to close well and open easily.
- After I applied the outer wood layer (one year later), I found out the door would not open further than 90 degrees any more.
- In order to limit the volume of the sauna (and thus improving heating time and reducing power consumption), the volume under the benches could be sealed off. This volume is anyway totally lost, and in my case only used for rarely used speakers. Only the ventilation outlet should then be moved above the benches.
.JPG)


.JPG)
